The Voice Manager
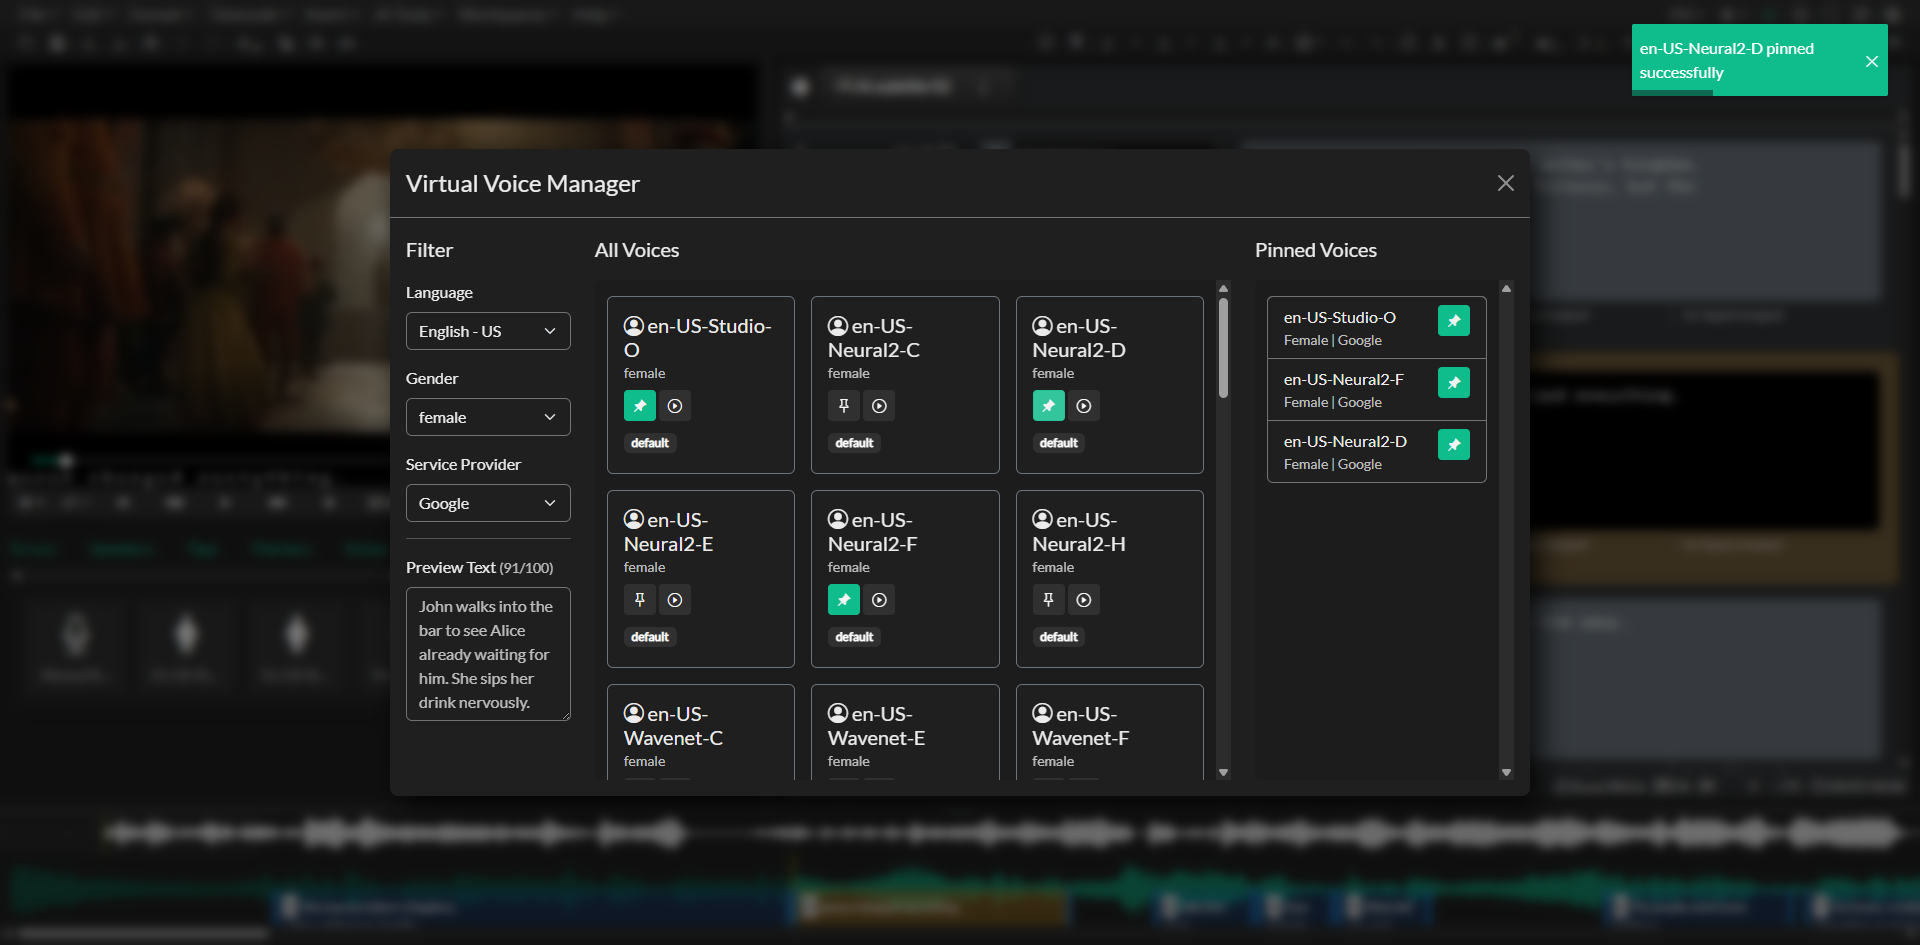
The Virtual Voice Manager is where you search, preview, and pin the synthetic voices you want to use in your audio description project. It provides access to over 100 voices from Amazon, Google, and Microsoft across more than 50 languages. From here you narrow down candidates, audition them against your own script text, and build a shortlist of pinned voices that remain accessible in the Quick Tools panel throughout your session.
Opening the Voice Manager
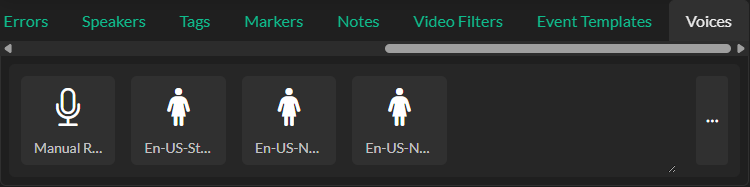
The Voice Manager is accessed through the Voices tab in the Quick Tools panel located beneath the media player. If the Voices tab is not visible, go to the Quick Tool settings in the Options window and enable it, then click Save Changes.
When you first open the Voices tab it will be empty because no voices have been pinned yet. Click the menu icon on the right side of the Voices tab header to open the Virtual Voice Manager.
Filtering and Previewing
The Virtual Voice Manager displays the full voice library and provides three filter controls: Language, Gender, and Service Provider. Using these filters together lets you quickly isolate voices that match the requirements of your project, such as finding female English-US voices from Microsoft only.
The preview text box near the top of the manager allows you to type your own sample text — a sentence from your description script, for example — so that you hear exactly how a voice will sound with your content rather than a generic demonstration phrase. Click the play button beneath any voice record to send the preview text to that voice and hear the rendered result.
Pinning Voices
Once you identify voices you want to use, click the pin icon on the voice record to add it to your Voices panel. Pinned voices appear as selectable thumbnails in the Voices tab of the Quick Tools panel. You can pin as many voices as you need and remove them at any time by clicking the pin icon again in the manager, which will unpin the voice and remove it from the panel.
Assigning a Voice to Events
With voices pinned in the Quick Tools panel, assigning them to events is straightforward. Select one or more events in the Event List, then click the voice thumbnail in the Voices panel. The selected voice is applied to all highlighted events, its name appears in the top-left corner of each event card just below the Event ID, and the render button begins flashing to indicate that the event audio needs to be re-rendered with the new voice.
The Voices panel also contains a Manual Record option. Selecting this assigns a special CCC Manual Record designation to the event, indicating that the audio for that event will be recorded rather than synthesized. This is used when integrating recorded voice talent into an otherwise synthetic workflow.
Voice Styles
Voices from Microsoft Azure include optional expressive style settings that change the affective delivery of the narration — for example, a cheerful, empathetic, or newscast reading. In the Voice Manager these styles are displayed as tags on the voice record. Once a Microsoft voice is assigned to an event, the available styles for that voice appear in a dropdown within the event editor itself. Selecting a style appends the appropriate SSML styling to the rendered output, so re-rendering the event is required after changing the selected style.