Creating & Managing Speakers
Identifying speakers in closed captions improves clarity and comprehension for the viewer by clearly indicating who is talking, particularly in multi-speaker dialogues, interviews, and programs with large casts. Closed Caption Creator provides a full speaker management system that lets you create, update, merge, and assign speakers across your project, as well as designate recipients for dialogue exchange workflows.
Video Walkthrough
Creating Speakers
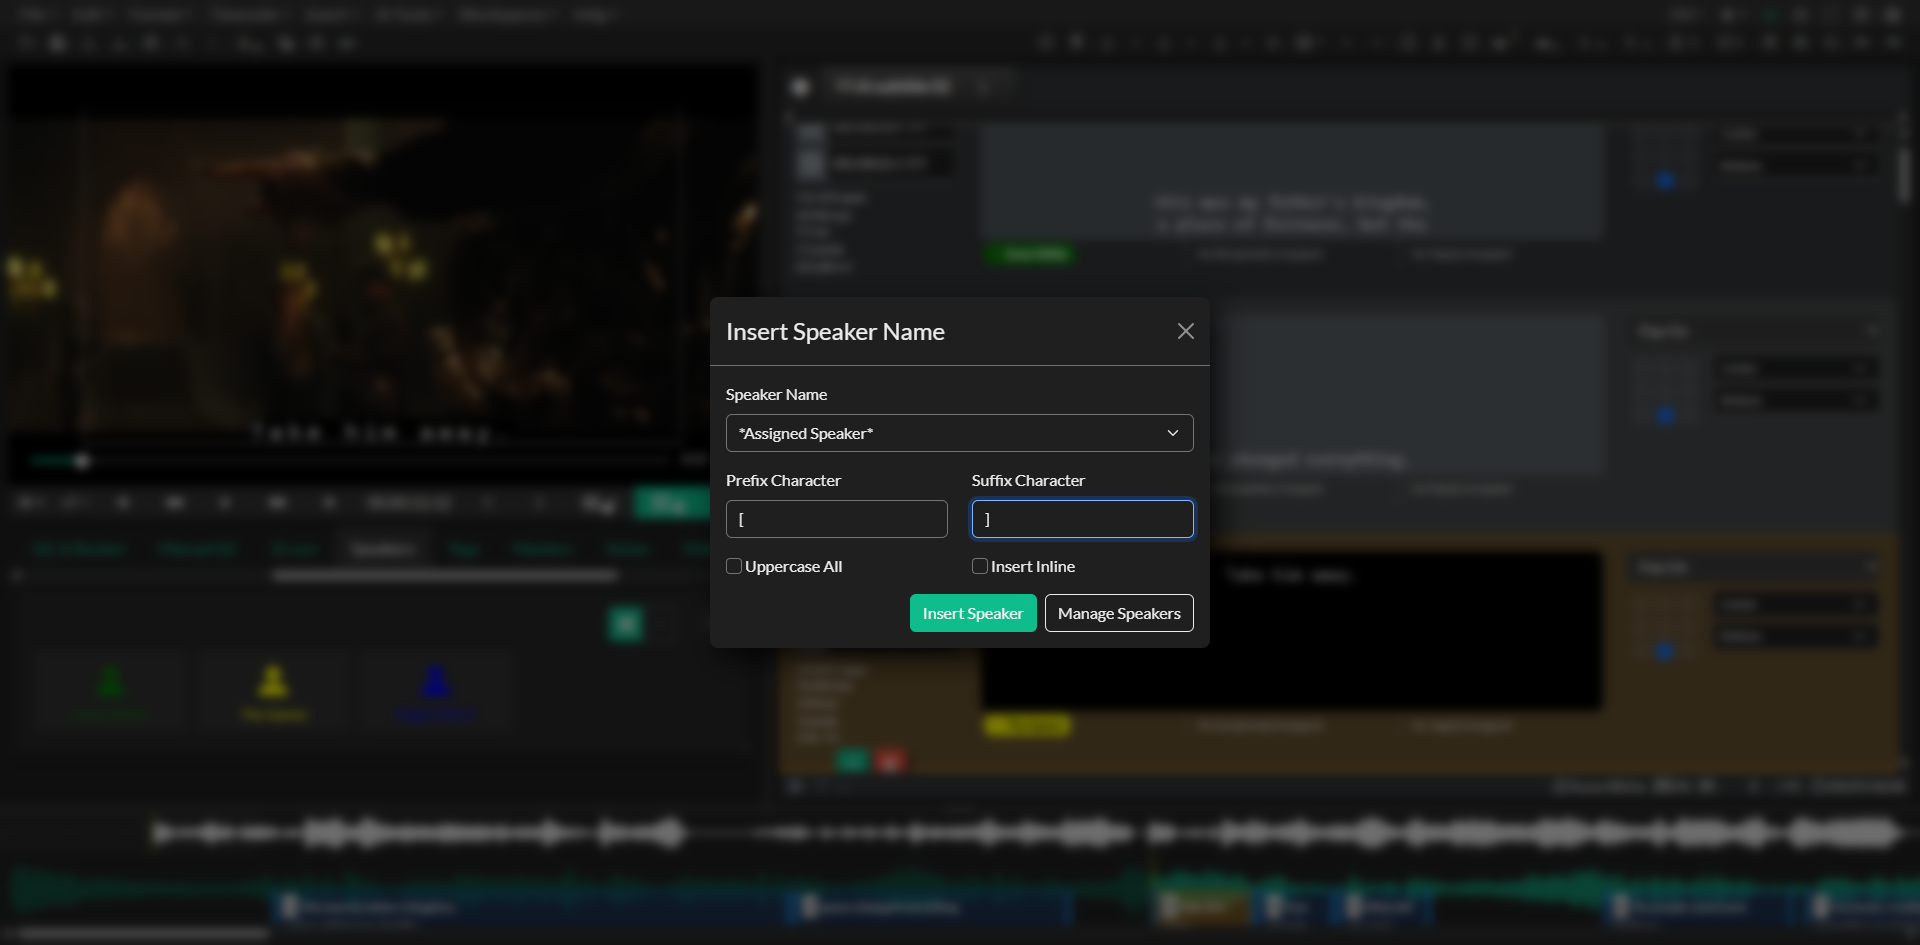
Speakers are project-wide resources managed through the Speaker Manager, which is accessible by clicking the menu (...) button at the top-right of the Speakers panel in the QuickTools drawer. Inside the Speaker Manager, you enter a speaker name, select an identifying color from the available palette, and click Add Speaker to create the entry. If you do not select a color, one is assigned automatically from a preset sequence so that each speaker in a project receives a visually distinct color.
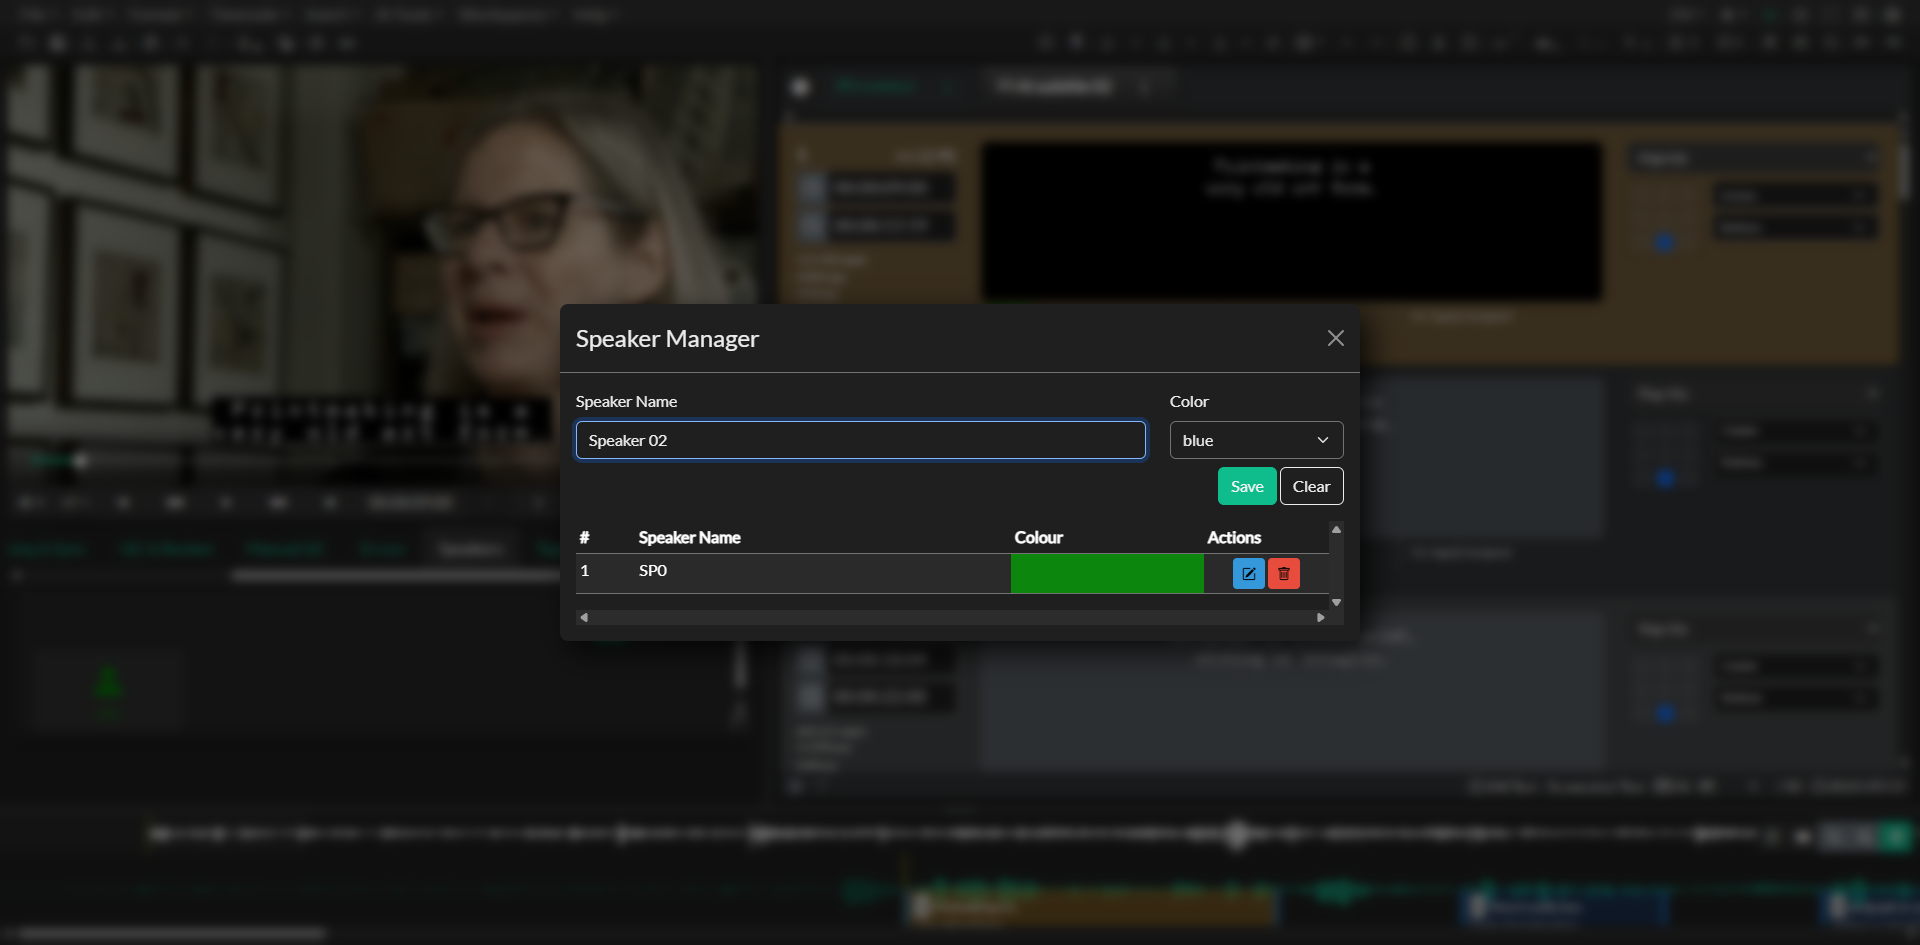
The Speaker Manager lists all speakers currently in the project and allows you to add new ones, edit existing ones, or remove speakers you no longer need. All changes made in the Speaker Manager apply immediately across every Event Group in the project.
Updating and Merging Speakers
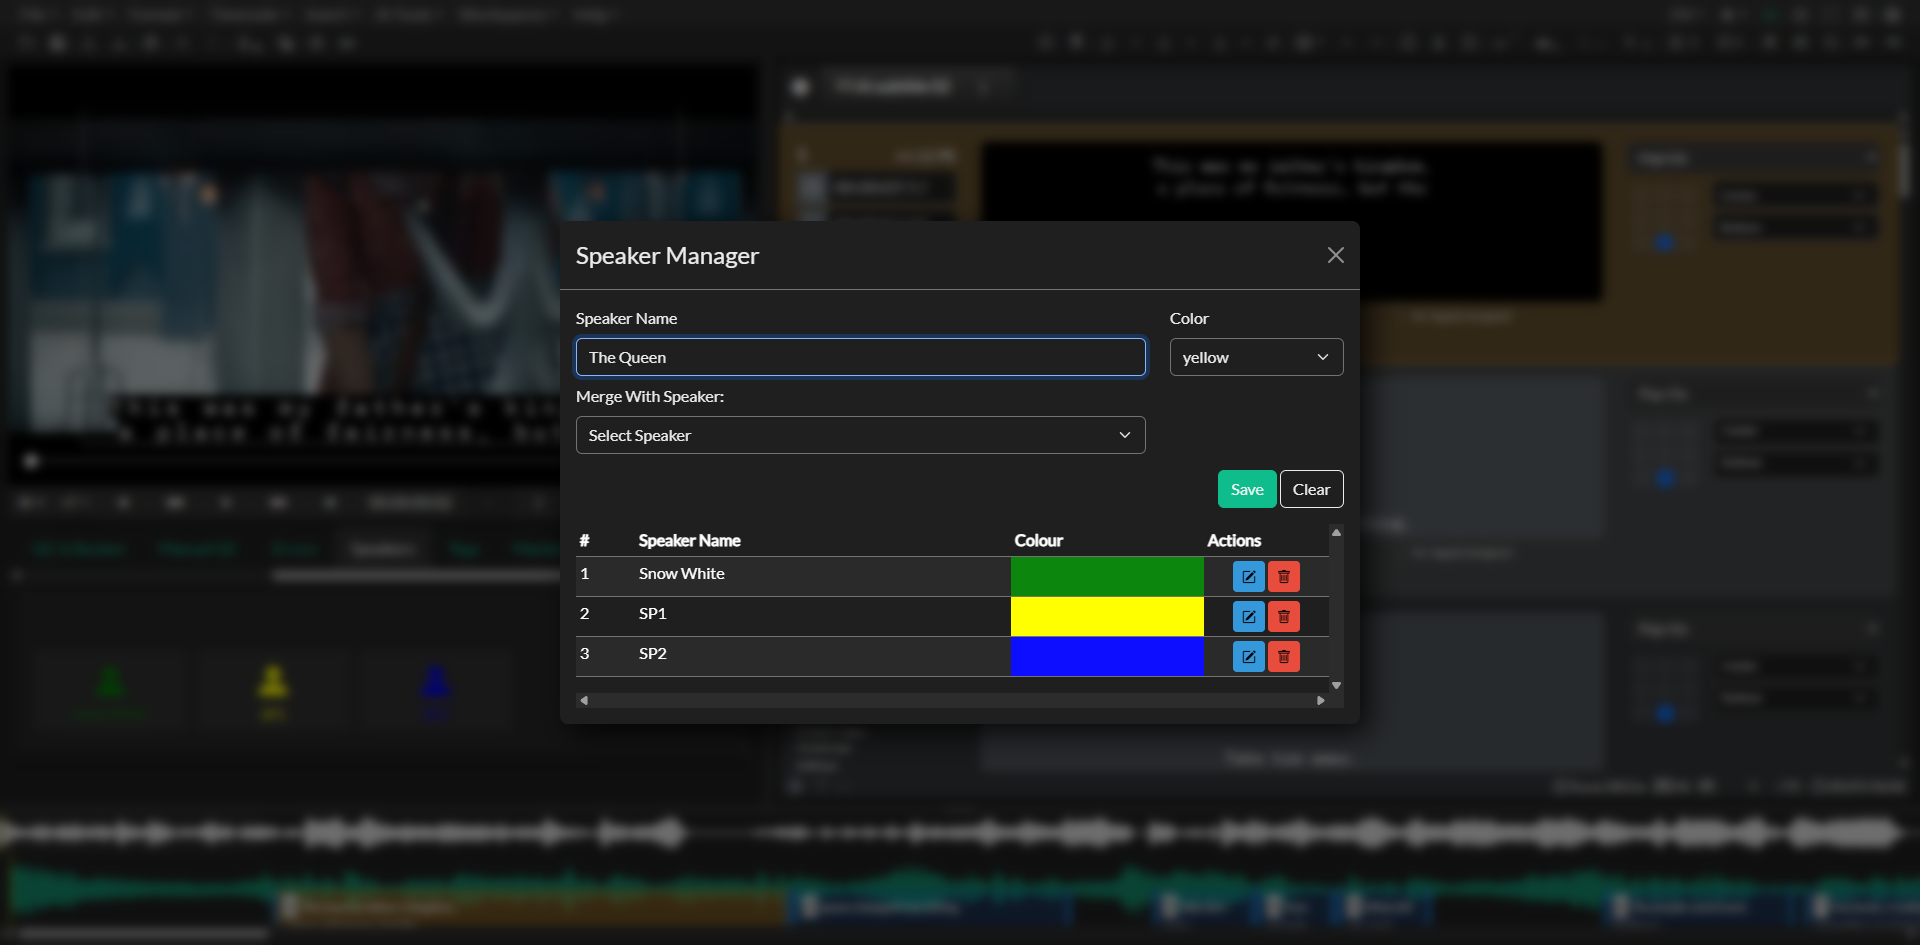
To update a speaker, click on their entry in the Speaker Manager, modify the name or color fields, and save the change. The update propagates to every Event that references that speaker, so you do not need to reassign tags manually.
When an AI transcription process misidentifies a single speaker as two separate speakers, the Speaker Manager provides a Merge Speakers option. Selecting a merge target replaces all references to the second speaker with the first, and removes the duplicate entry from the speaker list. This consolidation runs across all Events in all Event Groups.
Removing Speakers
Removing a speaker from the Speaker Manager deletes the speaker record and strips the speaker tag from every Event where it was assigned. The removal is comprehensive — there is no need to locate and clean up individual Events after a speaker is deleted.
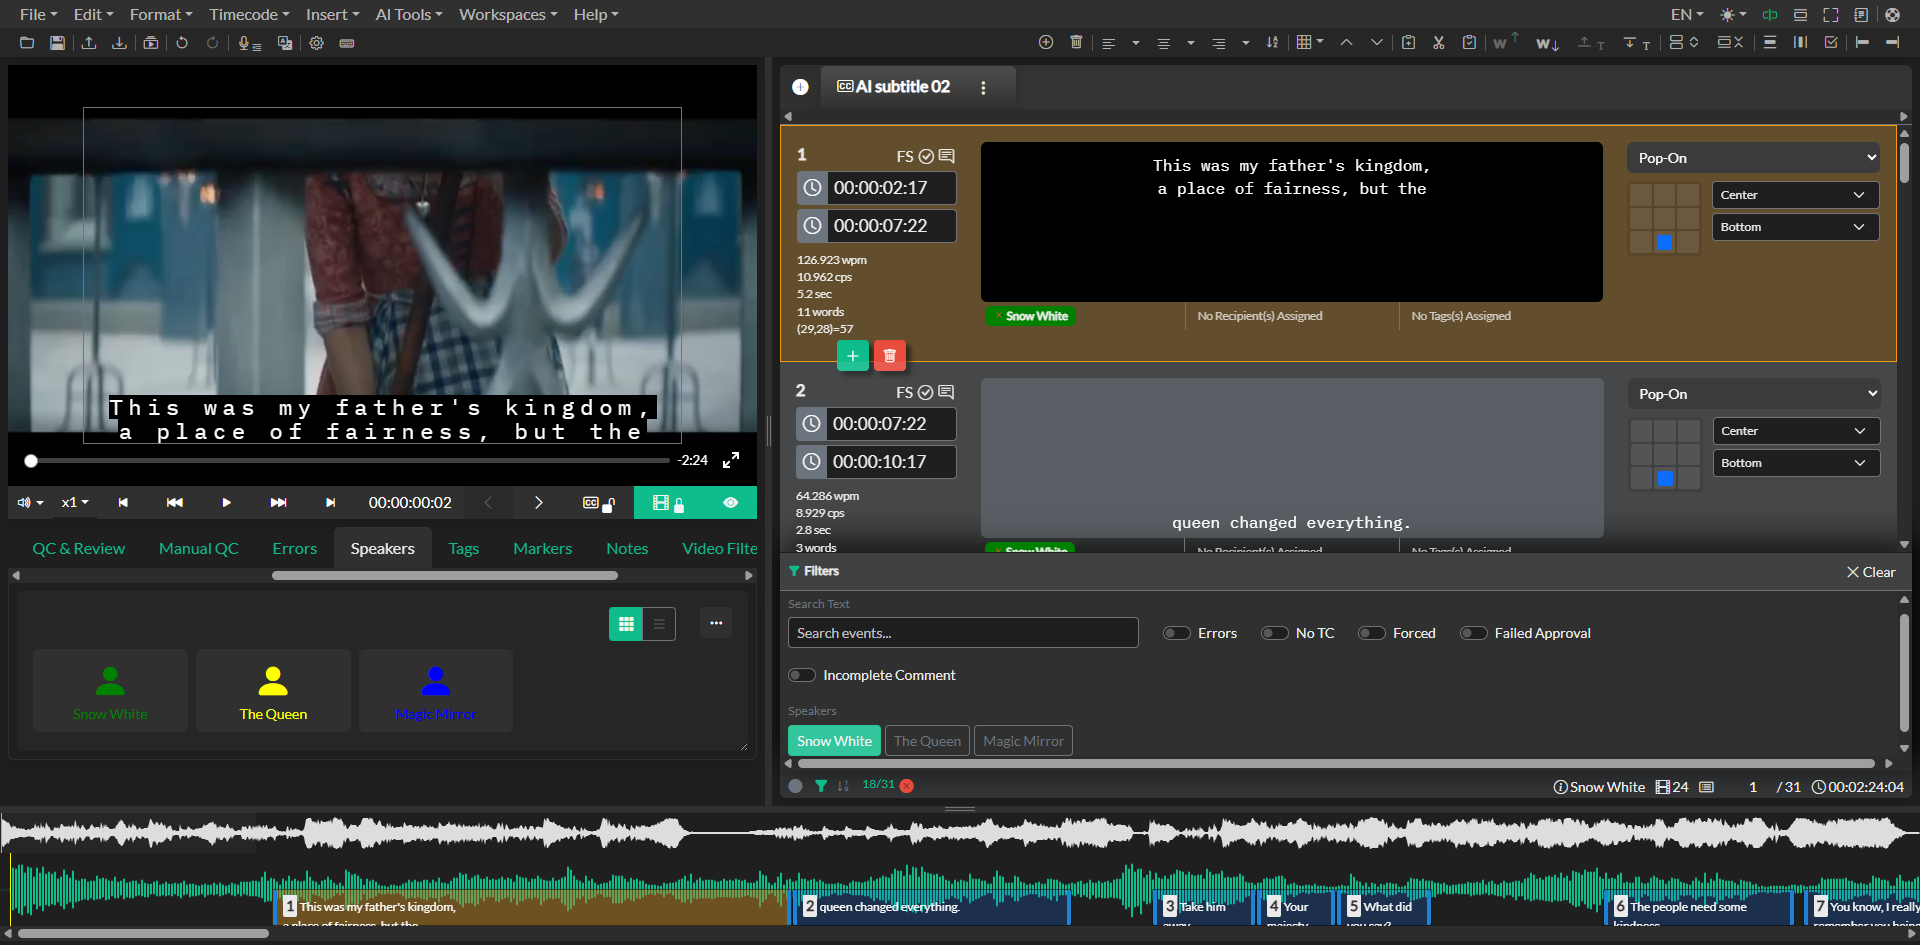
The Speakers Panel in QuickTools
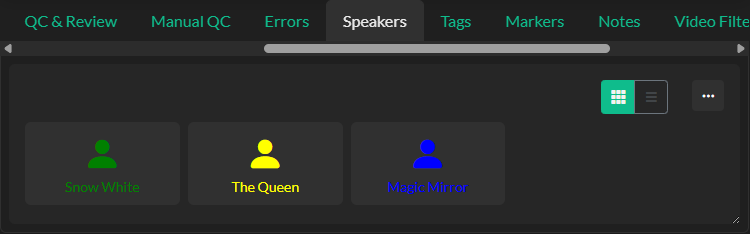
The Speakers panel in the QuickTools drawer provides a quick-access view for assigning speakers to selected Events without opening the Speaker Manager. The panel offers two display modes — a grid view that shows speaker cards arranged in a compact layout, and a table view that lists speakers in rows with their associated colors and action buttons. You can switch between these modes using the toggle controls at the top-right of the panel.
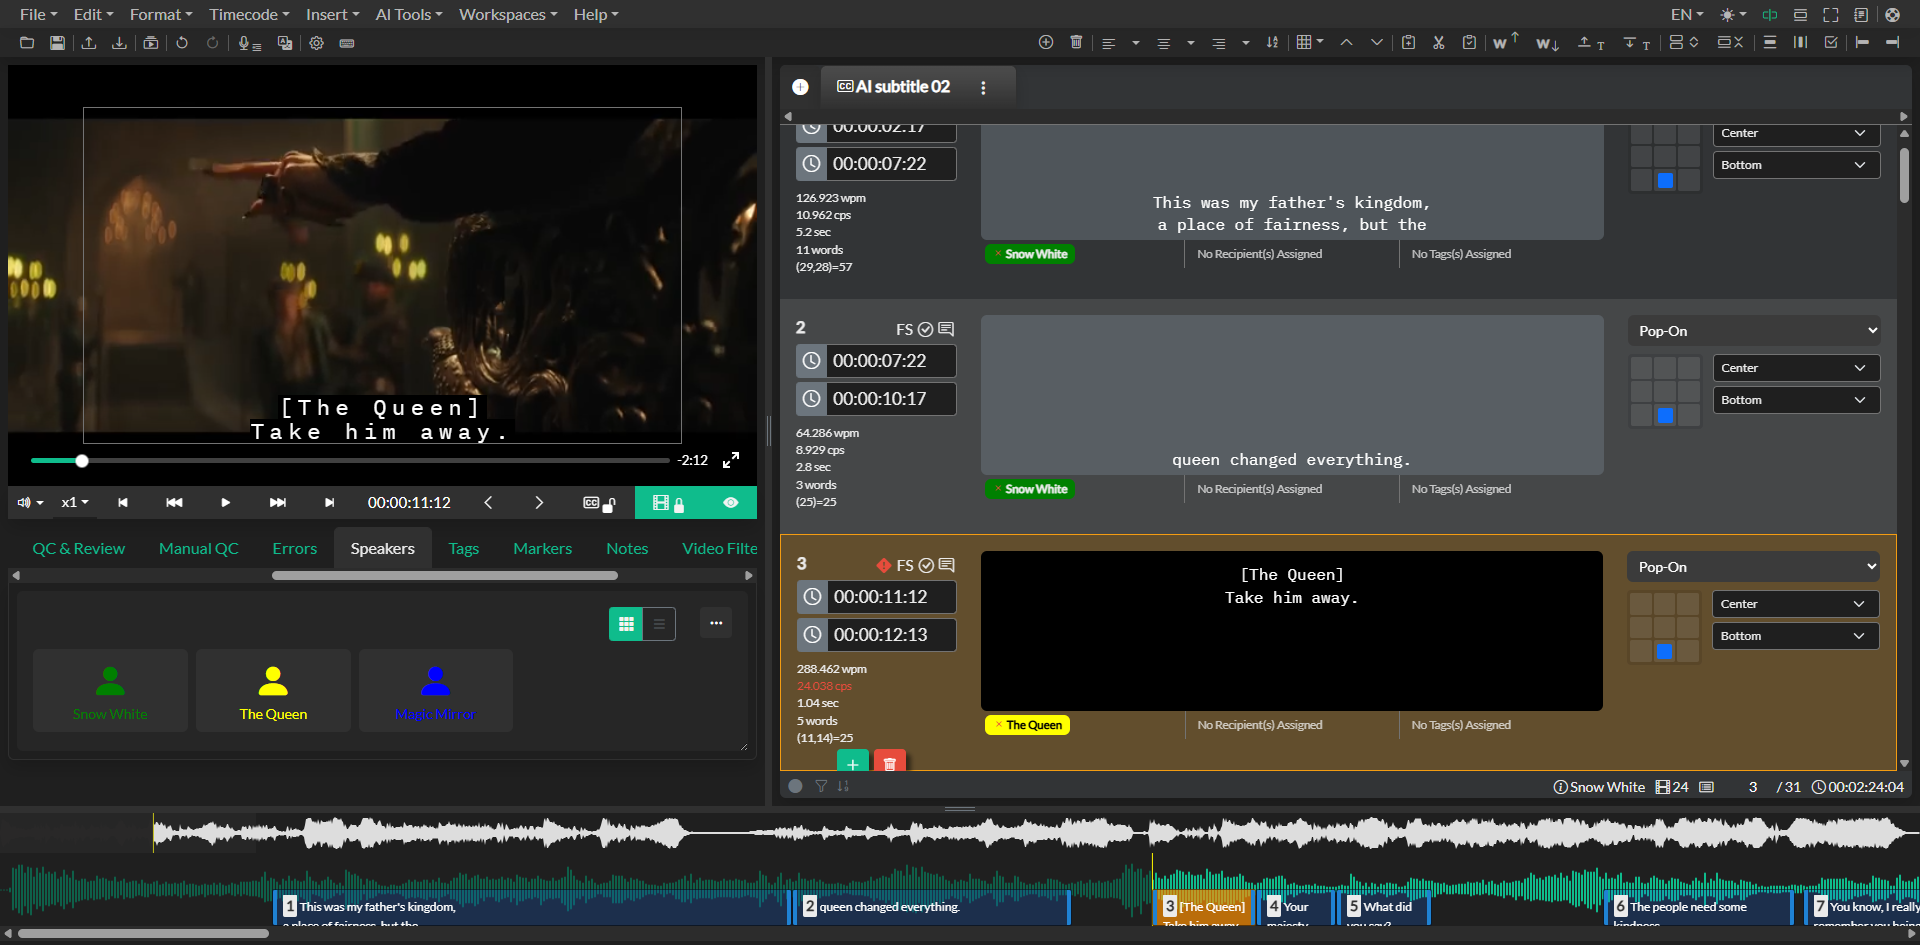
To assign a speaker to one or more Events, select the Events in the editor, hover over the speaker card or row in the panel, and click the Add Speaker button that appears. The speaker is added to the speakers array on each selected Event, with duplicate prevention ensuring the same speaker cannot be assigned more than once to the same Event.
To remove a speaker from an Event, click the × icon to the left of the speaker badge on the Event row in the editor. This removes the speaker from that Event only and does not affect any other Events or the project-wide speaker list.
Assigning Recipients
In addition to the speaker of an Event, you can designate a recipient — the person being spoken to. This is relevant for dialogue exchange workflows and is surfaced as a distinct column when exporting CCSLs or dialogue lists, allowing post-production teams to see not only who is speaking but who is being addressed.
Recipient assignment works identically to speaker assignment. Select the Events, hover over a speaker entry in the QuickTools panel, and click the Add Recipient button. Recipients are displayed as color-coded badges in a dedicated column on the Event row, and can be removed using the same × icon.