Platforms, Installation, and Offline Mode
Welcome to Closed Caption Creator. This guide will walk you through the essential first steps, including signing up, choosing the right version for your workflow, installing the application, and getting logged in so you can start creating accessible media.
Closed Caption Creator is available as both a web application and a desktop application. This flexibility means you can run Closed Caption Creator directly in a Chromium-based web browser or install it as a standalone desktop application on Windows, macOS, or Linux. Both versions share the same core functionality, but the desktop application unlocks additional capabilities for advanced workflows.
Signing up
Start at the Closed Caption Creator homepage and click Sign Up Now. You can sign up with a Google account or with an email address and password.
If you sign up with email, you will be asked to verify your address before continuing. Open the confirmation link sent to that address, then return to the sign-up page and click the confirmation button.
Next, choose the license you want to use. Starter and Pro are available, with a feature list under each option. On the following page, provide your name, business name, and credit card details. You can enter a promotional code and add plugins to the order. Your credit card is not charged until the free trial period expires. Click Start Trial to continue.
For activating a trial, canceling, invoices, and promo-code timing, see Subscription Management.
Choosing between Desktop and Web
The web version is ideal when your primary focus is subtitle and transcript editing with cloud-connected collaboration. You can access it immediately without installation by visiting the application URL in any Chromium-based browser such as Chrome, Edge, or Brave.
The desktop version is recommended when your workflow involves Audio Description rendering and mix workflows, burnt-in or open caption video exports, longform media performance optimizations, shot and scene change detection, or operating-system and Microsoft Word spell check. These features require local processing power, installed software, or media handling that the desktop application is built to support.
If you are unsure which version to choose, consider whether you need to create Audio Descriptions, export videos with burnt-in subtitles, use shot change detection, or run System or Word Spell Check. If the answer is yes to any of these, the desktop version is the right choice. Otherwise, either version will meet your needs. Though a web-based version is available, the desktop application is recommended for the best user experience.
Offline and Studio workflows
The desktop application also supports offline workflows, allowing you to work without an internet connection. Offline mode includes all core editing, timing, quality control, import and export, and local media workflows. However, AI-powered services such as automatic transcription, translation, and automatic sync require an active internet connection and are not available in offline mode.
Offline workflows are valuable for studio environments, remote locations, or secure facilities where internet access is restricted or unavailable.
Installing Closed Caption Creator
Web version
If you are using the web version of Closed Caption Creator, there is nothing to install. Simply visit the application URL in your Chromium-based browser to launch Closed Caption Creator and begin working.
Desktop version
To install the desktop version, click Download Desktop App in the top toolbar after you sign up, or visit the downloads page. Scroll to the installer for your operating system. Closed Caption Creator supports Windows, macOS (Intel and Apple Silicon), and Linux.
Run the installer and follow the prompts to complete the installation. Once installed, the application launches automatically, or you can launch it from the Start menu on Windows, the Applications folder on macOS, or your application launcher on Linux.
Logging in
When you first launch Closed Caption Creator, you will be prompted to log in using the same Google account or email and password you used when you signed up. If you created an email account, the first time you log in you will need to create a password. Follow best practices when creating your password and keep it secure.
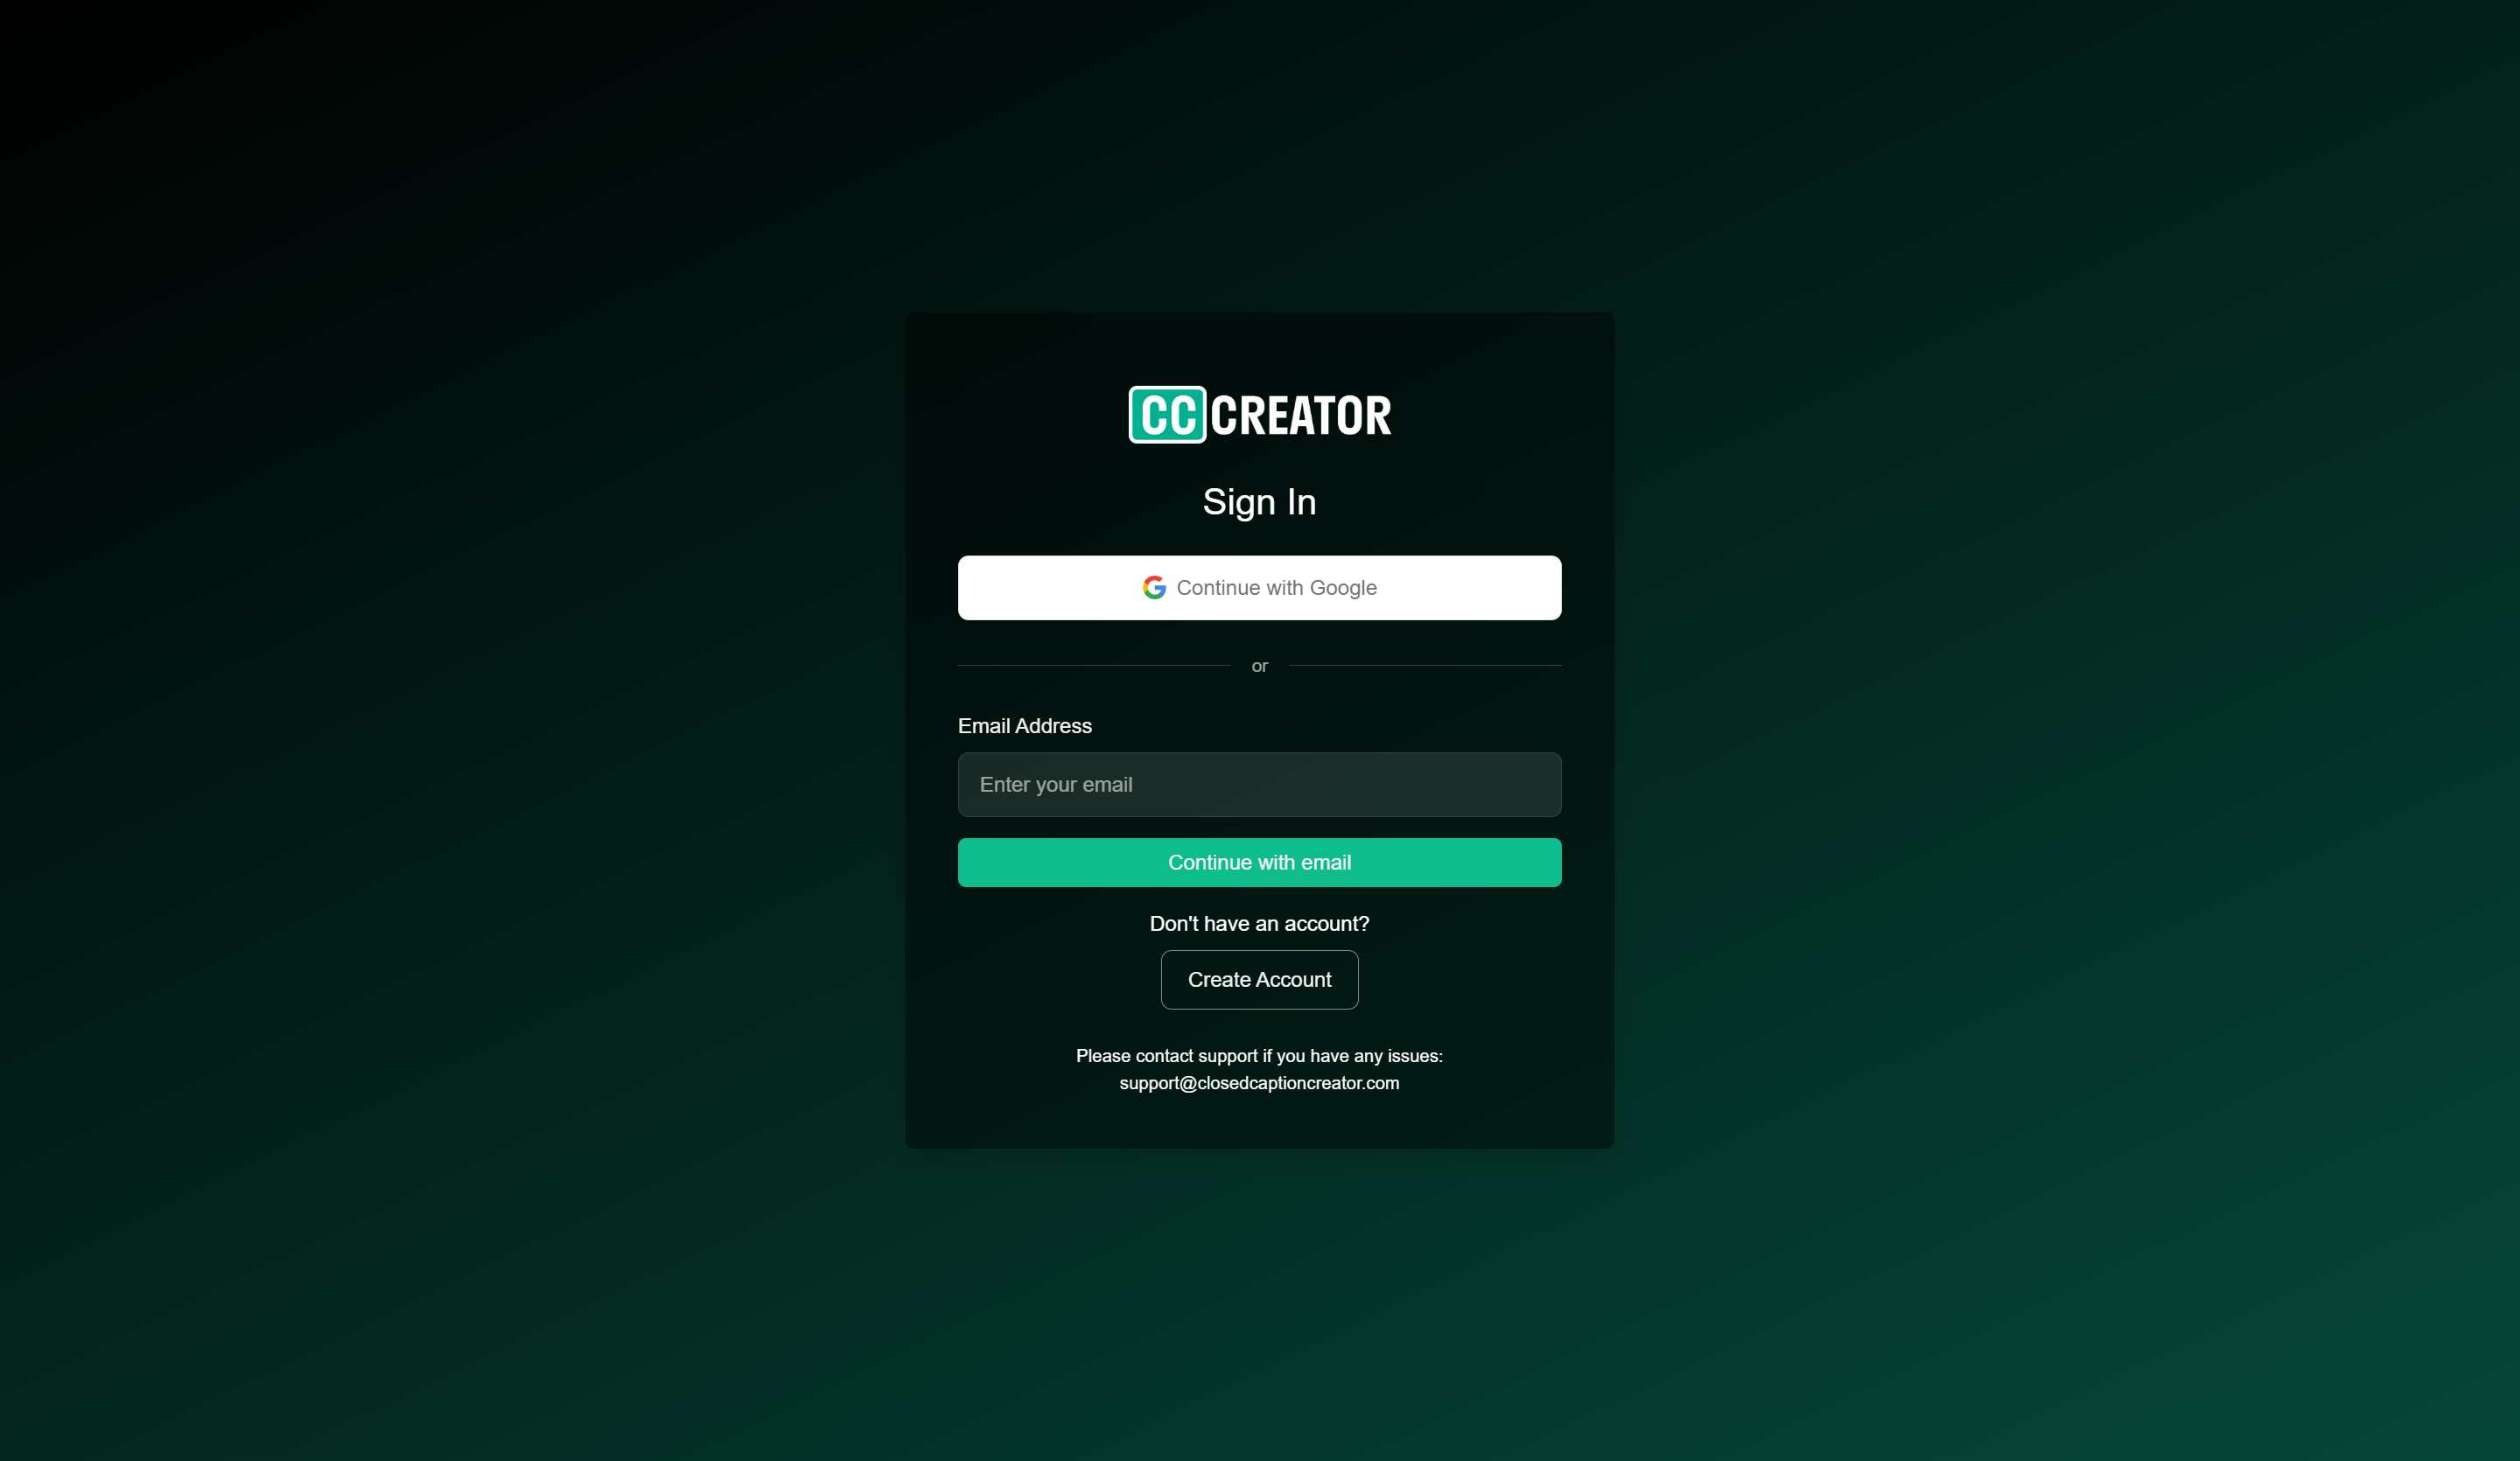
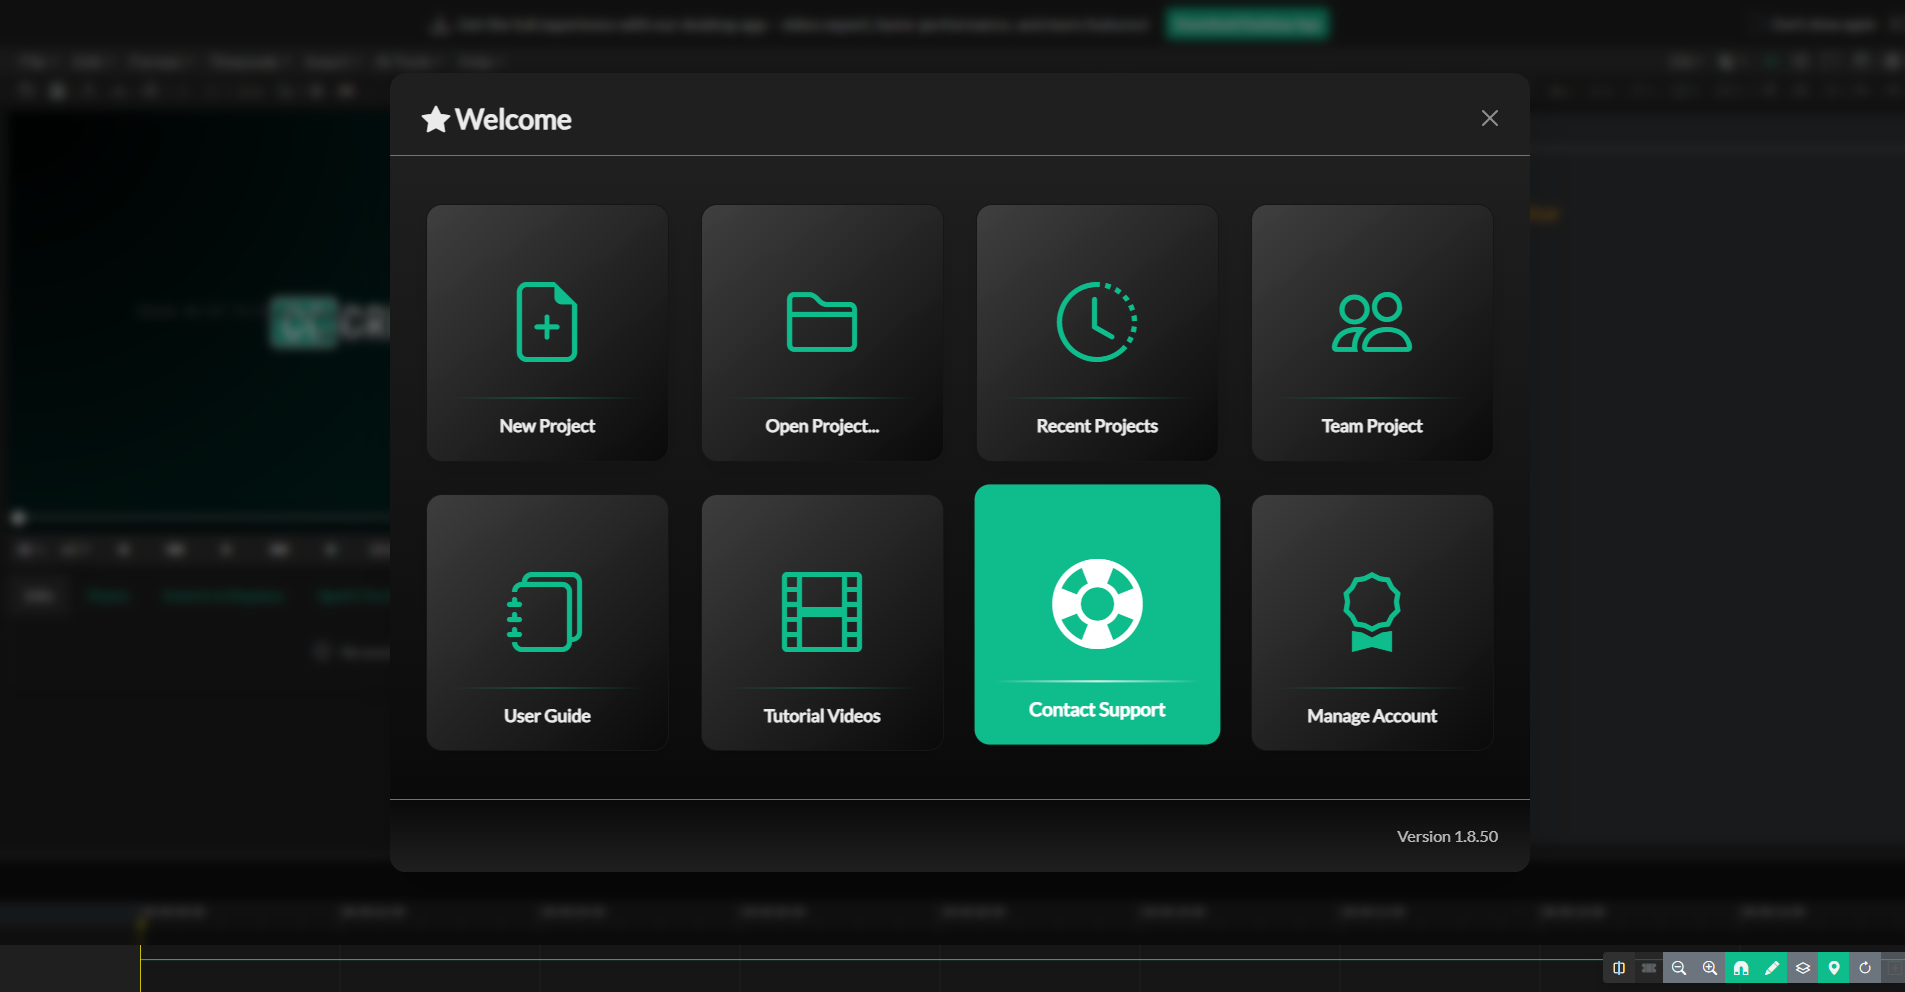
If you are using the offline or Studio version, you will activate your license using the offline activation process instead of logging in. Once logged in or activated, you will be greeted by the Welcome screen, where you can create your first project or open an existing one.
To manage billing, activate a trial, or cancel a subscription after you are signed in, go to Help > Manage Subscription. See Subscription Management.
If you encounter any issues during installation or login, contact the support team for assistance.