Create Your First Project
Welcome to Closed Caption Creator. This guide will walk you through creating your first project, from selecting your media file to understanding the interface and creating your first subtitles or captions. By the end of this walkthrough, you will have a working project ready for editing, timing, and export.
Before you start
Before creating your first project, make sure you have a media file ready. This can be a video or audio file stored locally on your hard drive, or it can be a cloud URL depending on your workflow. Closed Caption Creator supports a wide range of media formats and will automatically detect the frame rate and other technical specifications during project creation.
If you have not yet logged in to Closed Caption Creator, launch the application from your Applications folder on macOS or the Start menu on Windows. When you first launch Closed Caption Creator, you will be asked to log in using your subscription email address and choose a password. Once logged in, you will see the Welcome screen where you can create a new project, load a saved project, access recent projects, or manage your subscription and support options.
Creating a new project
To create a new project, click the Create New Project button on the Welcome screen or navigate to File and select New Project from the menu. You will be prompted to select a media file from your hard drive. Browse to your video or audio file and select it.
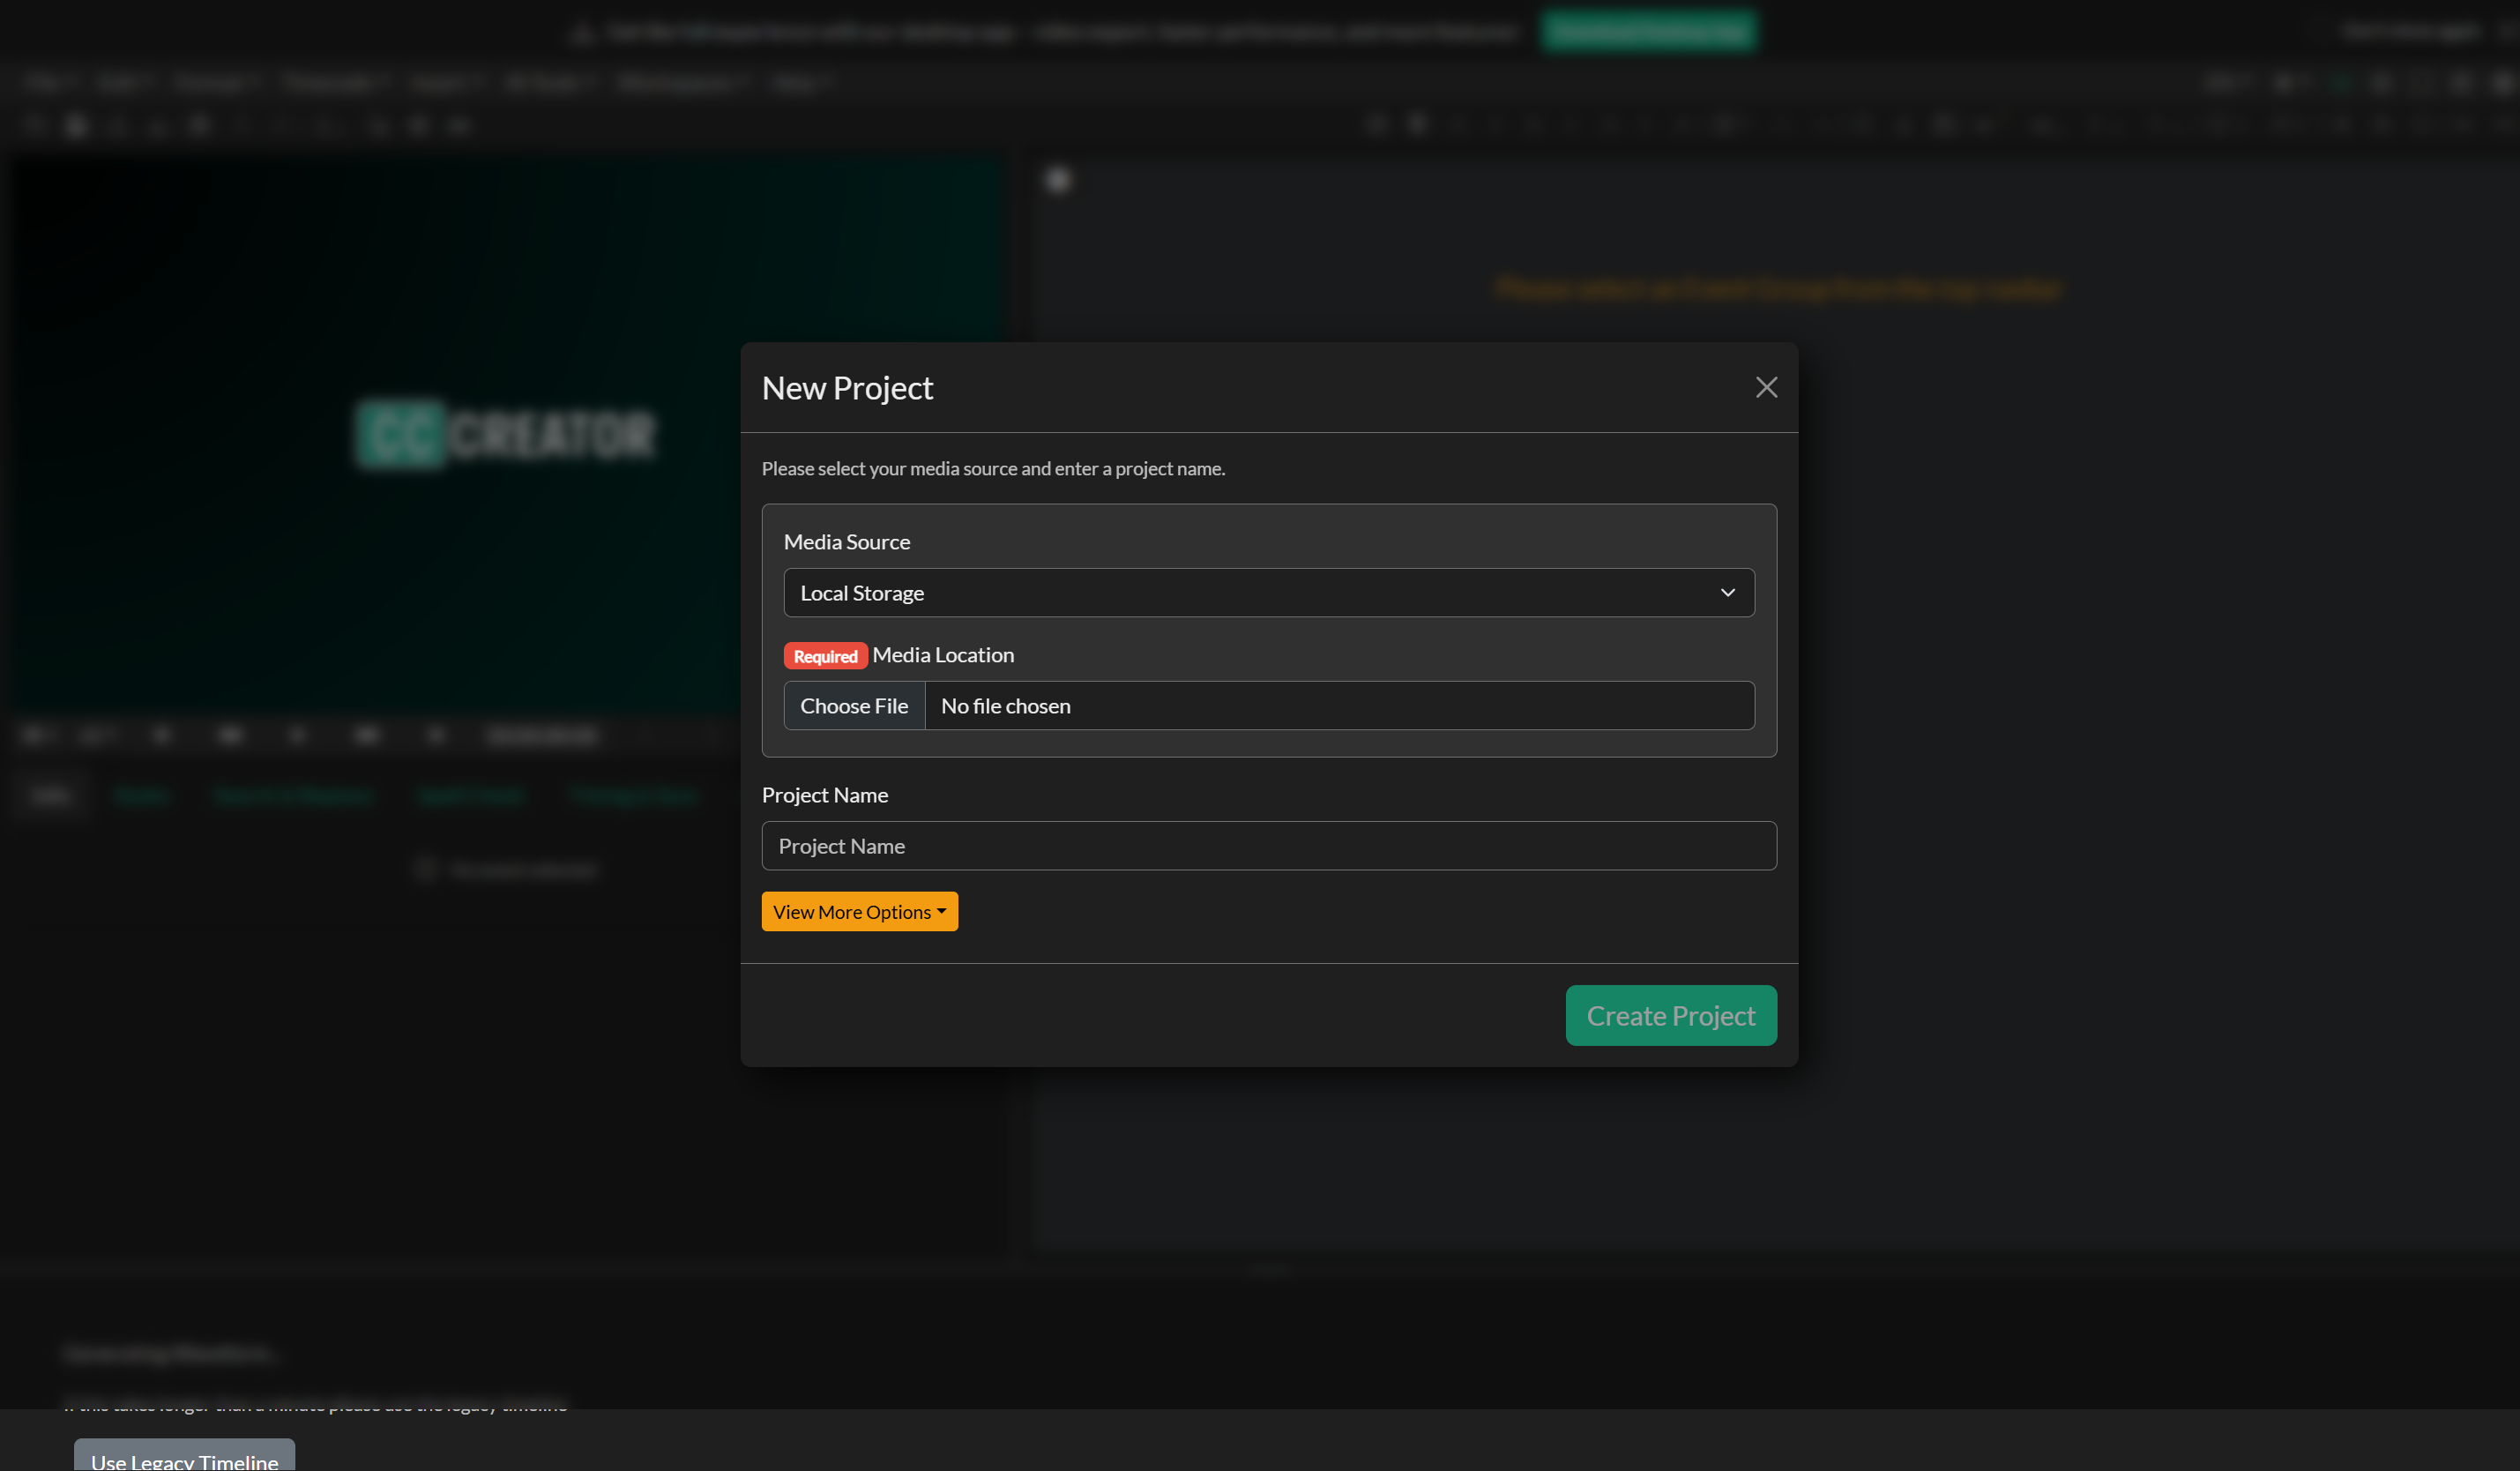
Next, give your project a name. Choose a name that helps you identify the project later, such as the title of the program or the client name. Once you have selected your media and entered a project name, click the Create Project button.
Closed Caption Creator will scan the media file and verify that the frame rate matches the default project settings. If the frame rate of your media file differs from the project settings, an alert will appear asking if you would like to update the project settings to match the source media. In most cases, you should accept this change to ensure accurate timing and synchronization.
Once the project is created, Closed Caption Creator will load the interface with your media file ready for editing.
Understanding the interface
The Closed Caption Creator interface is organized into several key areas that work together to support your workflow.
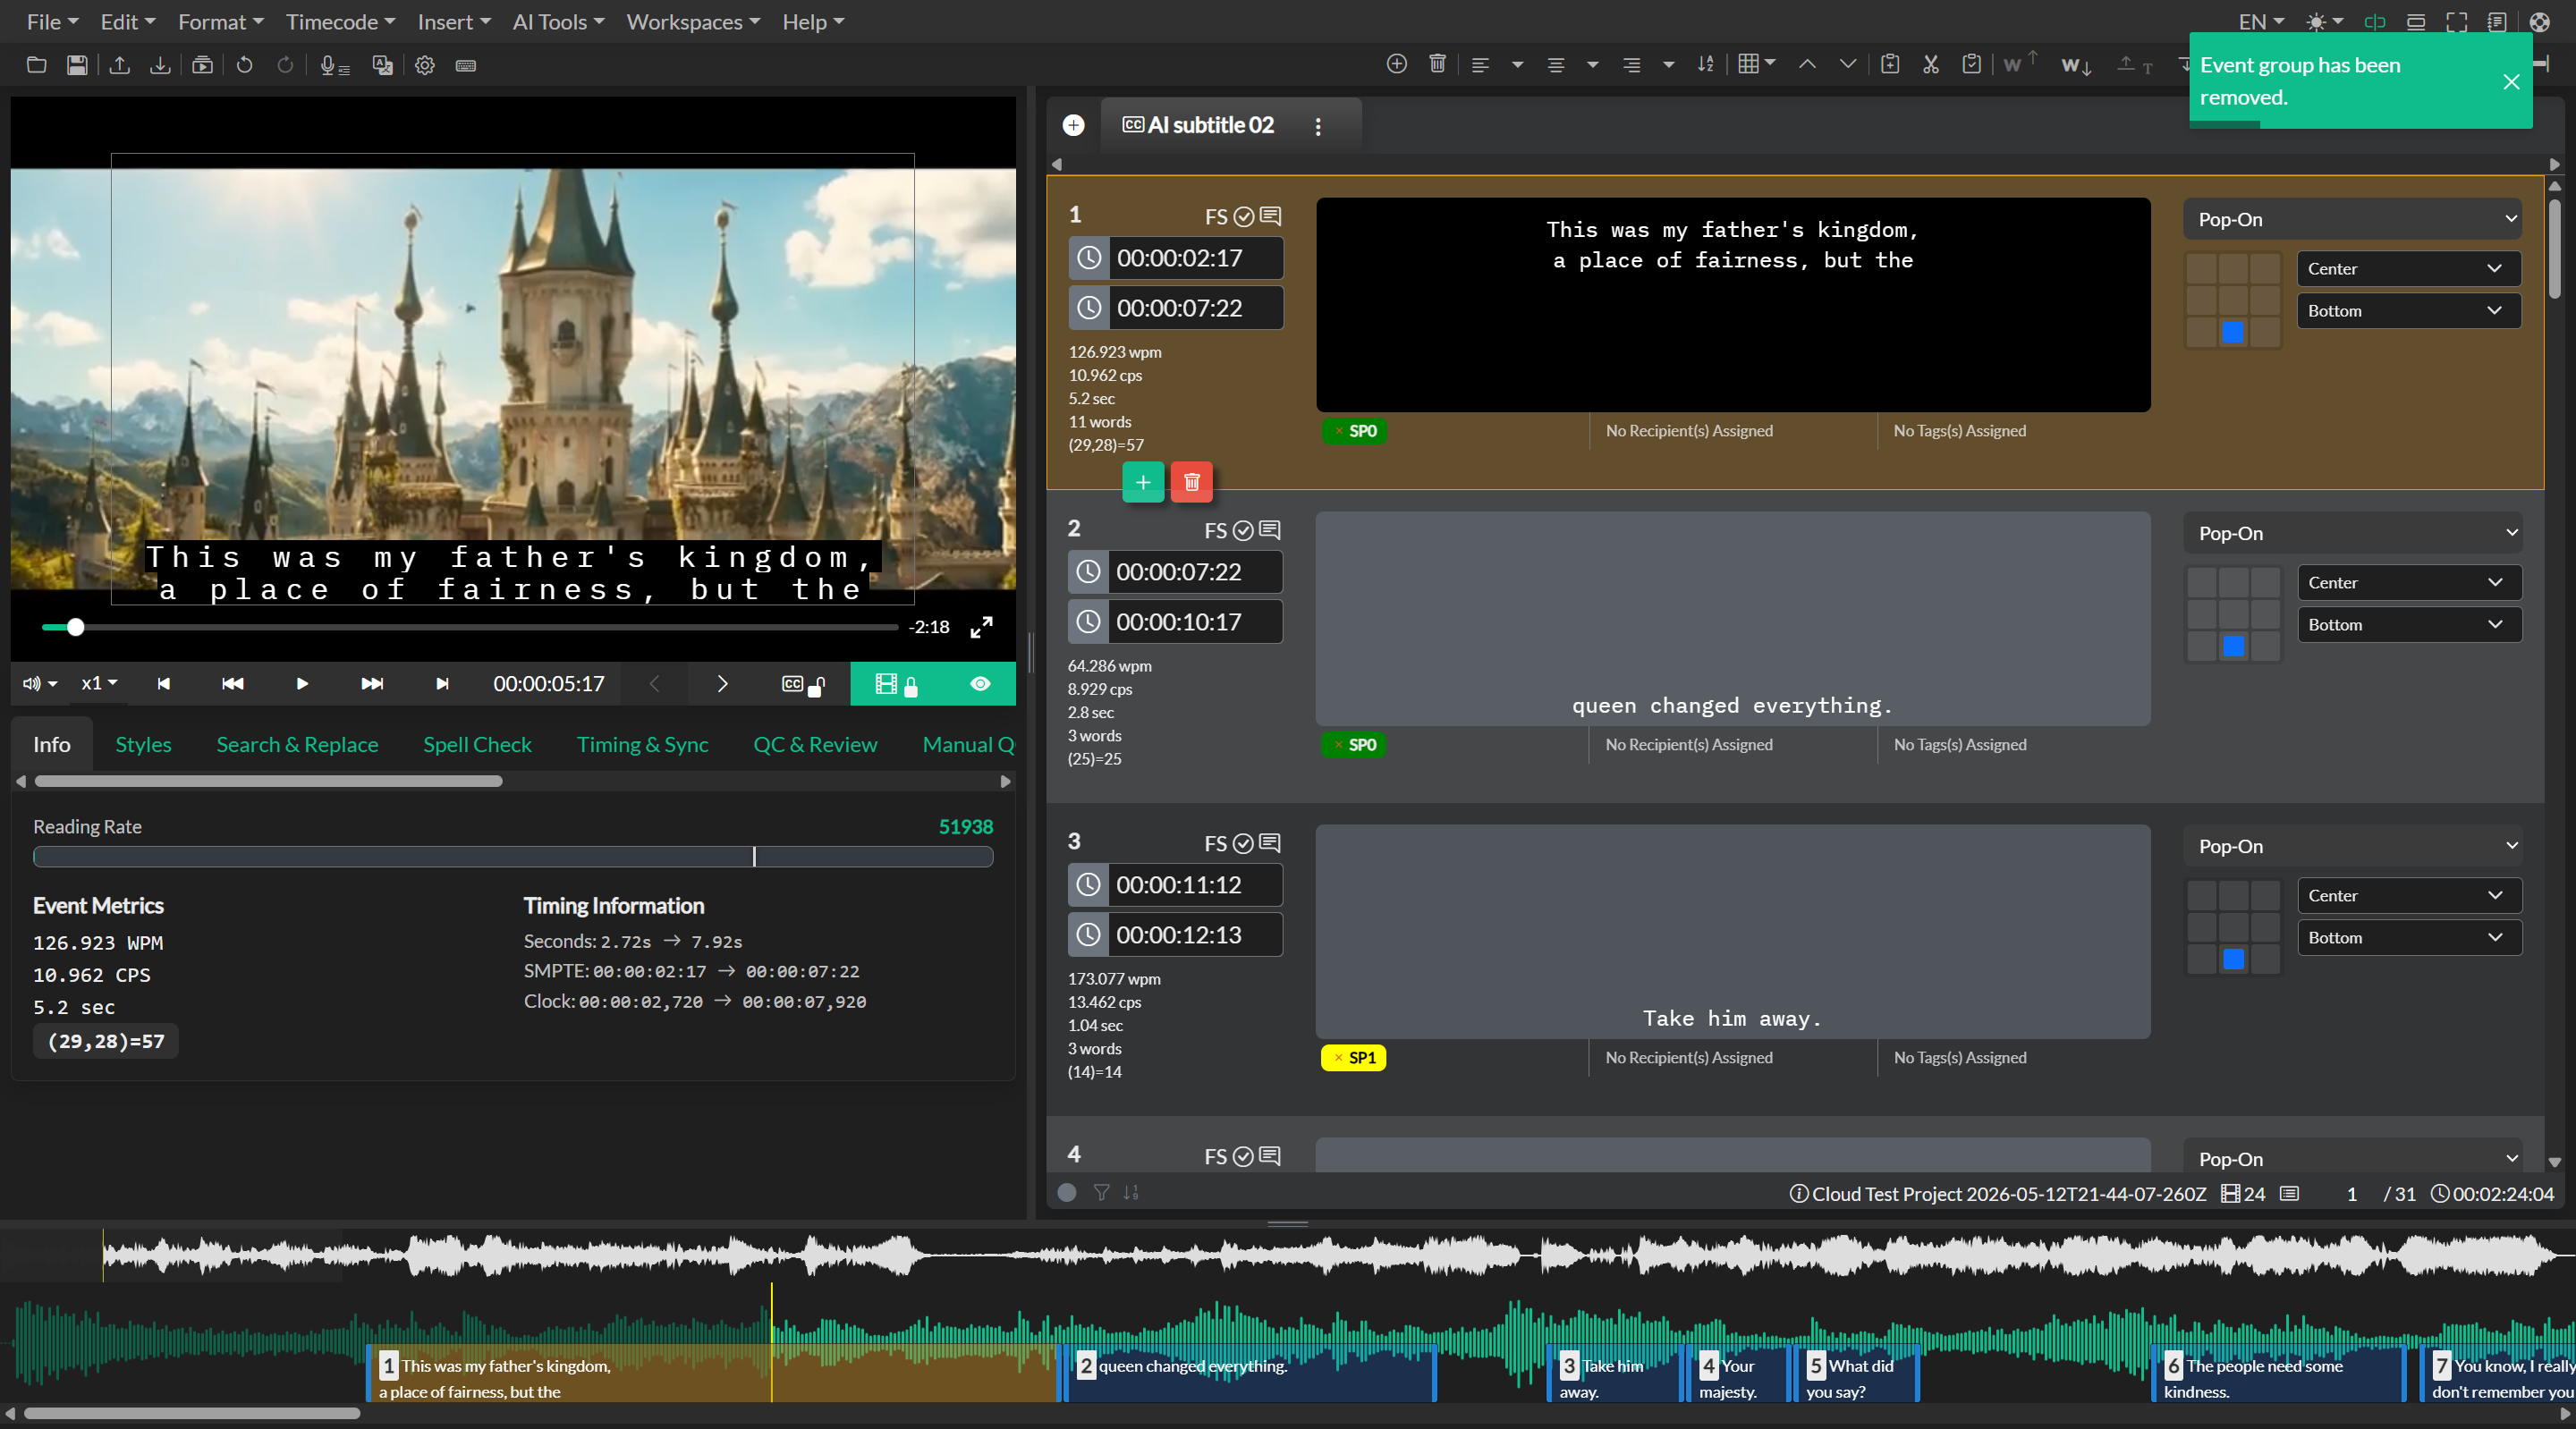
At the top of the screen, you will find the primary and secondary toolbars. The primary toolbar contains file menus and access to specialized tools such as Automatic Transcription, timecode rippling, text formatting, and other advanced features. The secondary toolbar provides quick access to common actions such as settings, keyboard shortcuts, alignment options, and subtitle actions that are frequently used during editing.
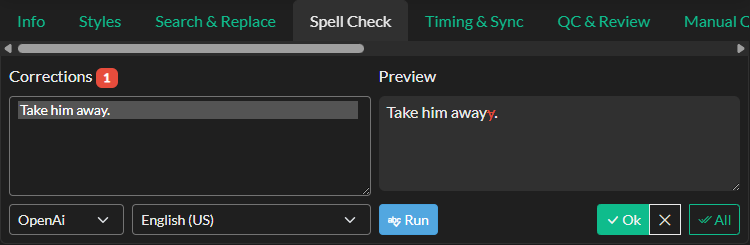
On the left side of the screen is the media player and Quick Tools panel. The media player displays your video or audio waveform and includes standard playback controls. The Quick Tools panel contains tabs with different tools depending on your workflow, including Search and Replace, Spell Check, spotting tools, quality control, and more.
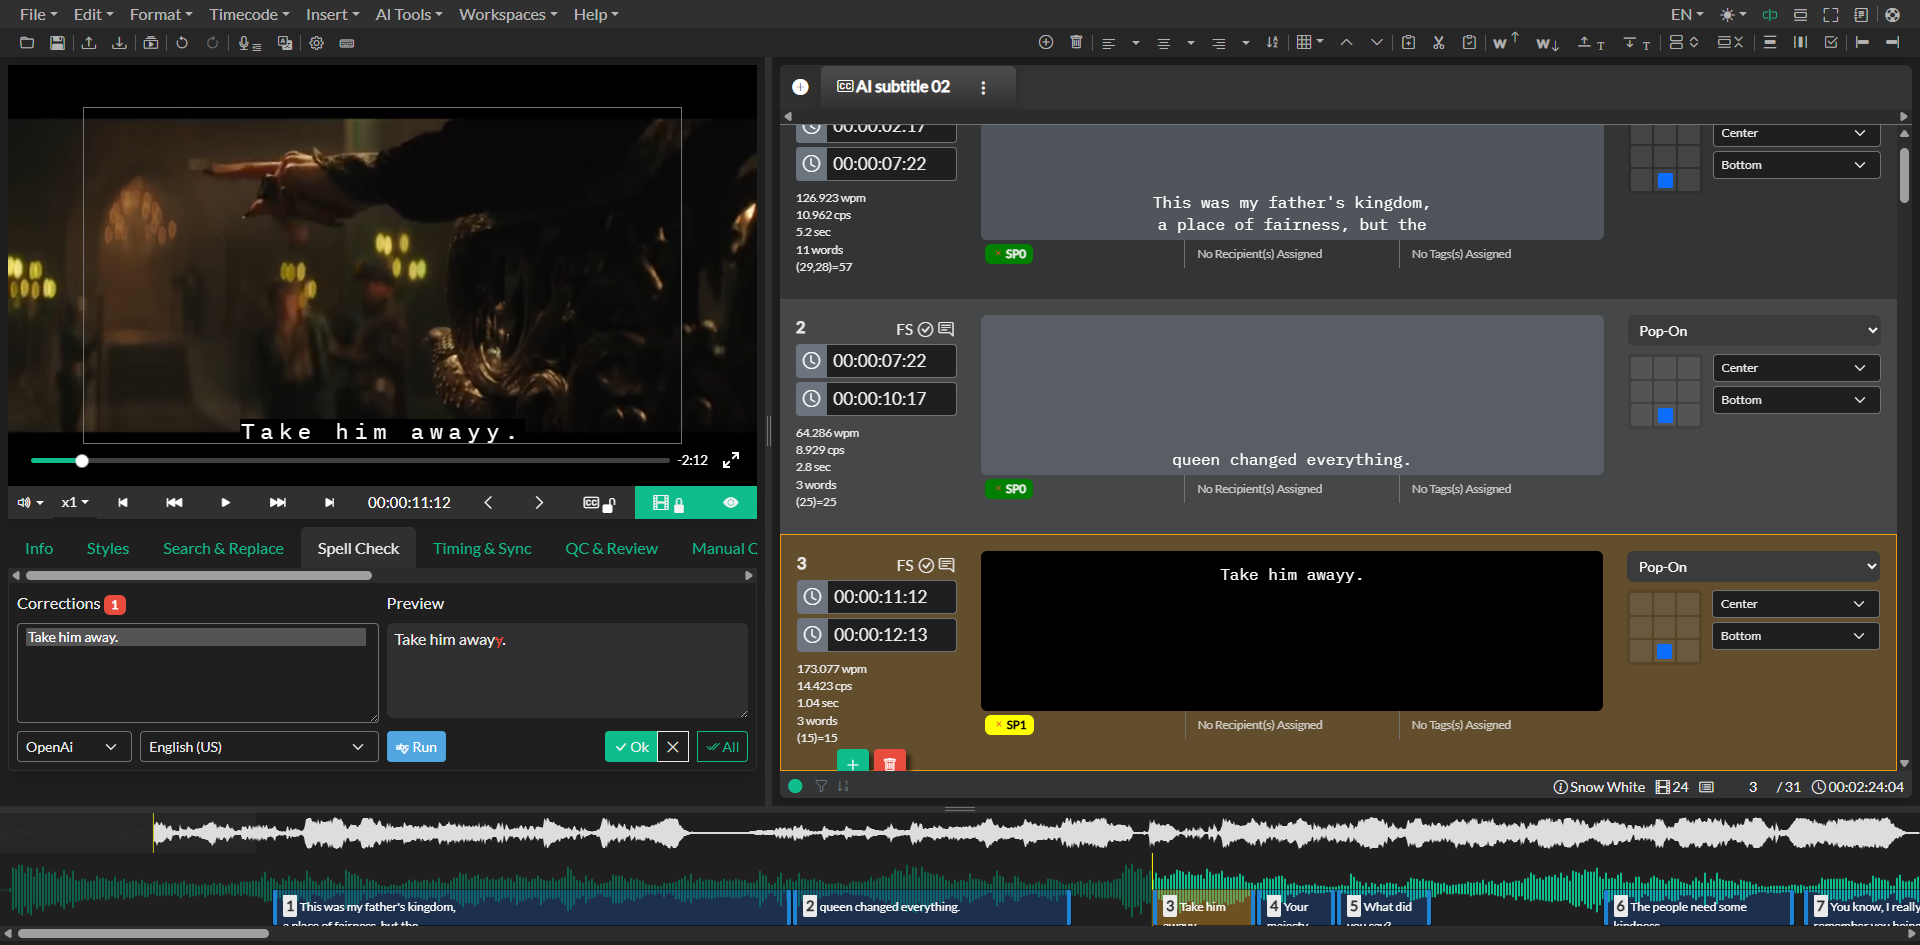
On the right side of the screen is the Event List along with the Event Group navbar. One of the unique features of Closed Caption Creator is that it allows you to have multiple Event Groups within a single project. For example, you can create multiple subtitle groups for different languages, or maintain different subtitle versions depending on the delivery platform or broadcast requirements.
At the bottom of the screen is the Timeline. The Timeline provides a visual representation of the timing of your Events and allows you to view and edit timing with precision. The Timeline supports multi-selection and click-and-drag functionality to create new Events quickly.
Adding content to your project
Once your project is created and you are familiar with the interface, you can start adding content. There are several ways to create subtitles or captions in Closed Caption Creator.
If you are working with the online version and have access to AI Tools, you can use Automatic Transcription to generate timed text automatically. To use Automatic Transcription, navigate to AI Tools in the menu and select Automatic Transcription. Choose the source language of your video and click the Submit Job button. Closed Caption Creator will extract the audio from your file and upload it to the transcription server. When the upload completes, the AI Transcription Job dashboard will appear where you can track the progress of your jobs. Once the transcription is complete, select the job and click the Edit Subtitles button to import the transcript into your project.
Closed Caption Creator will automatically generate Subtitle Events based on the default Event Group settings. For example, Events may be created with a maximum of 32 characters per line and a maximum of two lines per Event. If you would like to update these settings, you can open the Event Group options, select Settings, and update the values in the Error Detection section. Remember to click the Update Group button when you are done.
If you prefer to create subtitles manually, you can create Events directly in the Timeline by clicking and dragging to set the in and out timing, then typing your text into the Event editor. This approach gives you complete control over timing and formatting from the start.
Exporting your work
Once you have created your subtitles or captions and reviewed the timing and text, you are ready to export your work. Navigate to File and click Export to open the File Export menu. Here you can choose what kind of file you want to export, including a video file with burnt-in subtitles, a broadcast dialogue list, or a sidecar caption file.
To export a sidecar caption file, select the Subtitle File option and click Next. Closed Caption Creator supports over 35 different subtitle file formats. Choose your desired file extension and profile. For example, if you are delivering for web platforms, you might choose WebVTT. Click Export and select where you want to save the file.
Congratulations. You have successfully created your first project in Closed Caption Creator. As you continue working, explore the different tools and workflows available to refine your process and deliver professional, accessible media.
Video tutorials
Related docs
Events, Event Groups, and Project Settings Timing and Synchronization