Automatic Shot Descriptions
Automatic Shot Descriptions uses AI to analyse your video frame-by-frame and generate a written description for each detected scene. Unlike the full Automatic AD pipeline, this feature focuses purely on producing scene-level descriptive notes without attempting to position events within dialogue gaps or render audio. The result is a set of shot description notes attached to timeline events that you can review, edit, and use as the foundation for manual audio description writing, client reporting, or CCSL generation.
This feature requires the desktop version of Closed Caption Creator and an active internet connection. Processing is cloud-based and is billed per minute of video content.
Getting Started
Create a project and import your video file. Go to AI Tools > Automatic Shot Descriptions to open the job submission form.
Processing Range
By default, Automatic Shot Descriptions processes the entire video. To generate descriptions for only part of the media, turn off Process Entire Video and enter a segment start and end timecode. The segment fields use the project's frame rate and drop-frame settings, and the end time defaults to the full media duration when available.
The form validates that the segment starts at or after zero, ends after the start time, and does not extend beyond the media duration. Segment processing is useful when testing a short section, rerunning a scene, or limiting a job to a specific programme segment.
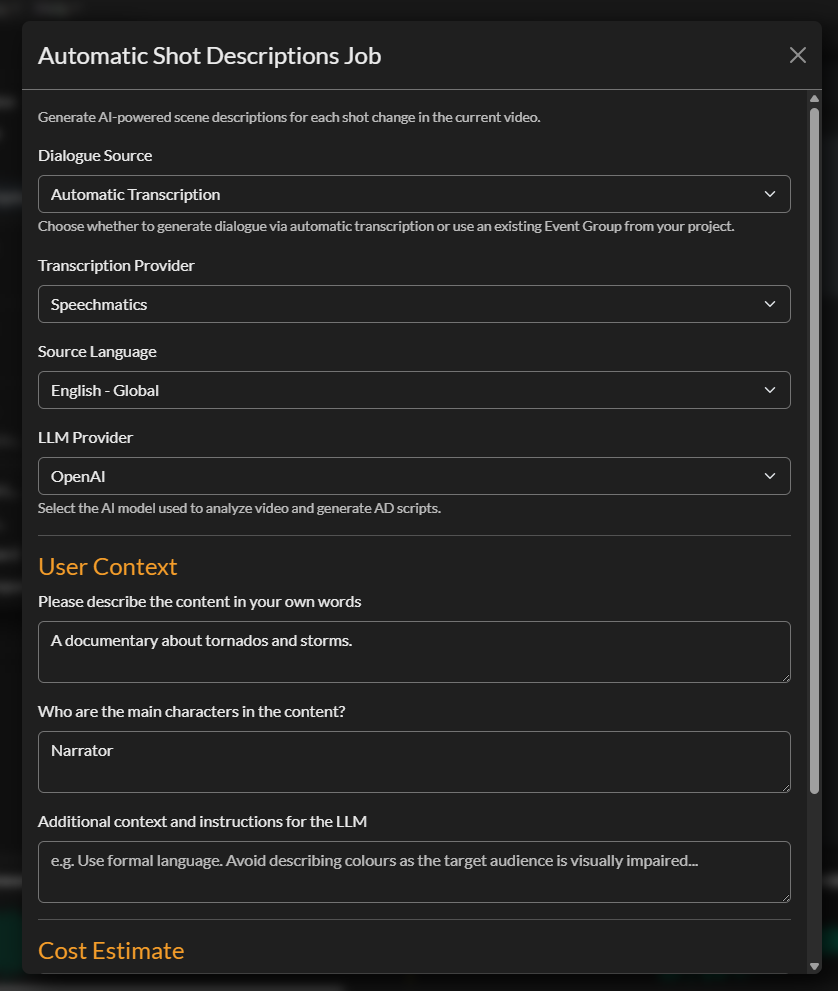
Dialogue Source
The Dialogue Source setting determines how the system obtains the spoken dialogue that provides narrative context for the LLM when writing scene descriptions.
| Option | Description |
|---|---|
| Automatic Transcription | The system transcribes the audio using your chosen provider |
| Existing Event Group | Use a caption or transcription Event Group already in your project |
If you have an accurate caption file already imported, selecting it avoids a redundant transcription step and reduces cost. If not, select Automatic Transcription and choose your Transcription Provider and Language from the additional settings that appear.
Supported transcription providers are Speechmatics, Deepgram, and Assembly AI. Your provider and language choices are saved automatically between sessions.
LLM Provider
Select the large language model used to write the shot descriptions. Currently supported: Anthropic (Claude). The model receives the dialogue transcript, the list of detected shot changes with their timecodes, and the context you provide to write a concise description of what happens in each scene.
You can also choose a Backup LLM. When configured, the backup model is included in the job configuration so the cloud pipeline can fall back if the primary model is unavailable.
Output Controls
Automatic Shot Descriptions includes controls for shaping the generated scene description notes before they are imported into your project.
Output Language sets the language the LLM should use for generated descriptions. Supported output languages include English, Italian, German, Spanish, Catalan, Czech, French, Portuguese, Japanese, Chinese, Hindi, and Russian.
Description Length controls the target word budget for each description. The available presets are Brief (up to 12 words), Standard (up to 25 words), and Detailed (up to 45 words). Standard is the default.
Avoid Duplicates asks the model to avoid repeating descriptions that are already covered nearby.
Description Focus lets you choose what the model should emphasise, including actions and movements, characters and expressions, setting and environment, shot type, on-screen text and titles, and props and costumes.
Context Fields
Providing detailed context helps the LLM produce accurate and appropriately toned descriptions. The more information you give, the better the output.
Content Description
A one-to-two sentence summary of the programme: genre, setting, and tone. For example: "A nature documentary about migratory birds in South America. The tone is informative and awe-inspiring."
Main Characters
A comma-separated list of significant on-screen people or characters, as they should be named in the descriptions. This prevents the model from writing generic references such as "a woman" when it should write a character's name.
Additional Instructions
Any style, tone, or content guidelines for the LLM. Use this field to specify description length preferences, to reference a particular style guide, or to exclude categories of content. For example: "Descriptions should be no more than two sentences per shot. Follow ITC audio description guidelines."
Your content description, characters, and instructions are saved to localStorage and pre-filled the next time you open the form.
Estimated Cost and Submission
The estimated cost is shown near the bottom of the form before you submit. The minimum charge is 3 credits; above the minimum the cost is 1 credit per minute of video.
Click Submit Job when ready. A confirmation dialog shows the estimated cost. After confirming, the application:
- Extracts audio from your video
- (If using automatic transcription) Uploads the audio for transcription
- Detects scene changes and records their timecodes
- Extracts keyframes at 1 fps and removes near-duplicate frames
- Registers the job in Firestore and uploads all materials to cloud storage
- Hands off to the cloud pipeline, which runs the LLM and packages the output into a CCPRJ file
A progress bar and status message update as each step completes. When submission finishes, the Shot Description Import dashboard opens automatically.
Monitoring Jobs in the Shot Description Import Dashboard
The Shot Description Import Dashboard shows all your submitted shot description jobs and refreshes automatically every 10 seconds. Each row displays the project name, submission date, status, and progress percentage.
Filter by date range (last 24 hours, week, month, year, or custom) and by status (All, Submitted, Processing, In Progress, Passed, Failed).
When your job reaches 100 % / Passed, select it to activate the import controls. You can return to this dashboard at any time via AI Tools > Shot Description Import.
Importing Results
With a completed job selected, click Import to download the output CCPRJ from cloud storage and merge it into your current project. Two new Event Groups are created:
| Event Group | Contents |
|---|---|
| Dialogue | The transcribed (or provided) dialogue, timed to the original audio |
| Shot Changes | One event per detected scene transition |
Each Shot Change event carries a Note containing the AI-generated description for that scene. To read the descriptions, open the Notes tab in the QuickTools panel. Selecting any event in the Shot Changes group displays its description in the Notes tab, giving you a scene-by-scene breakdown of the content.
Generating a CCSL
After importing, you can generate a Combined Continuity and Spotting List (CCSL) that includes both the dialogue and the shot descriptions. Go to File > Export > CCSL and configure the export settings. The CCSL export combines event timing, dialogue text, and shot change notes into a single document, making it suitable for delivery to accessibility teams, broadcasters requesting programme information, or internal production review.
Archiving and Deleting Jobs
Select a completed job and click Archive to hide it from the default view, or Delete to permanently remove it (including source files from cloud storage). A confirmation dialog is shown before permanent deletion. You can also export a CSV summary of all visible jobs using the Export CSV button.