Audio Dubbing
Audio Dubbing turns captions or translations into dubbed dialogue with AI voices. An Audio Dubbing Event Group holds source text and dubbed text side by side, renders text-to-speech of the dubbed column, and on export mixes that voice-over over a Background (music and effects) stem. It uses the same voices, rendering, and export stack as Audio Description. It is not speech-to-speech: original dialogue audio is not cloned or replaced unless you supply an M&E stem. It also does not translate for you — run Automatic Translation first, or type the dubbed script yourself.
Creating an Audio Dubbing group requires the Audio Description plugin, or an offline session. Export is available in the desktop application when the Audio Description plugin is enabled and you are online.
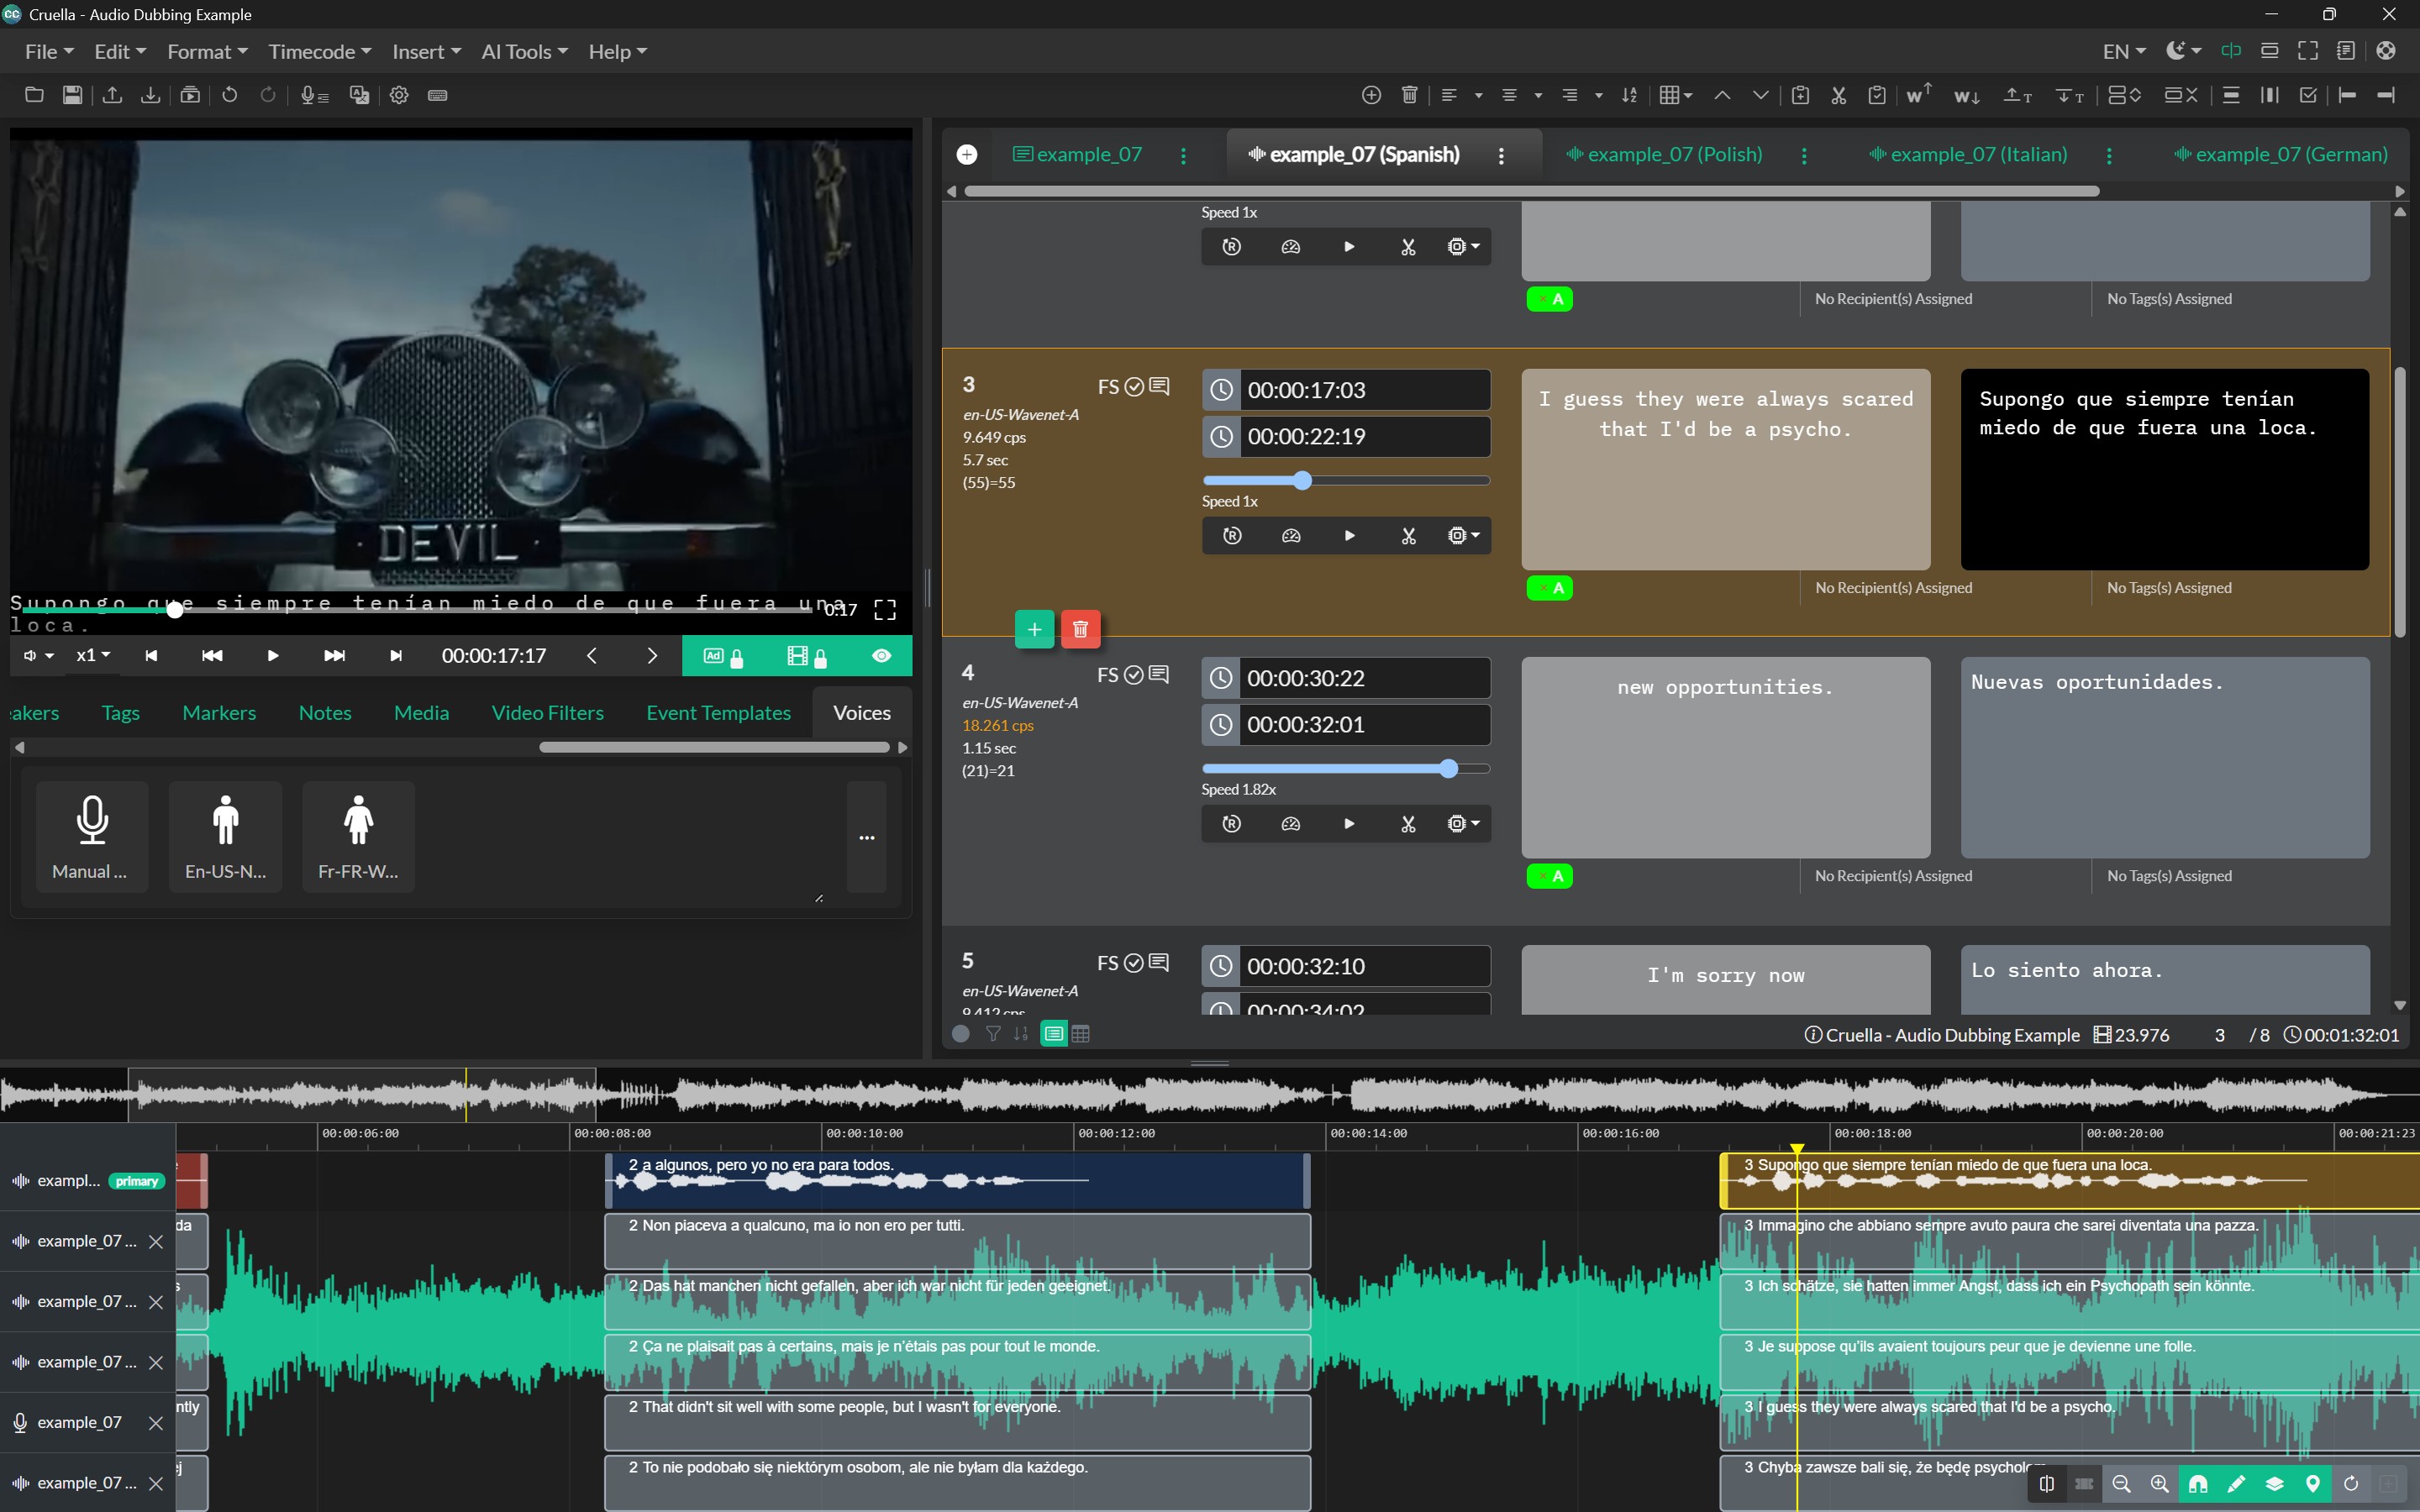
Each Event shows the original language on the left and the dubbed script on the right. The Voices tab under the player holds the voices you assign to each cue. The timeline shows the rendered voice-over against the program audio.
Create an Audio Dubbing Event Group
- Start from timed Subtitle or Transcription events. Optionally run AI Tools → Automatic Translation and import the Translation group so the target language is already filled.
- Go to File → New → Event Group.
- Set Group Type to Audio Dubbing. This option appears when the Audio Description plugin is enabled, or when you are offline.
- Set Display Name, Language, and Right-To-Left as needed.
- Under Translation Options, choose a Required Linked Group. Create Group stays disabled until a linked group is selected.
- Optionally enable Allow Original Text Editing if you need to edit source text alongside the dub in List View and Table View.
- Click Create Group.
How the linked group is copied
- If you link a Translation group, original (source) text is copied into the left column and the translated text into the right (dubbed) column. You can assign voices and render immediately.
- If you link captions or another non-translation group, that group's text is copied into the original column and the dubbed text column is left empty. Fill the dubbed script yourself, then render.
There is no automatic translation inside Audio Dubbing. Translate first, or paste the dubbed dialogue into the right-hand column.
You can also choose Audio Dubbing as the New Group Type when creating a project. A new project has no linked group, so original text must be typed. Changing an existing group's type in Event Group Settings only changes the type flag; it does not copy original and target text the way New Event Group does.
Assign voices and render
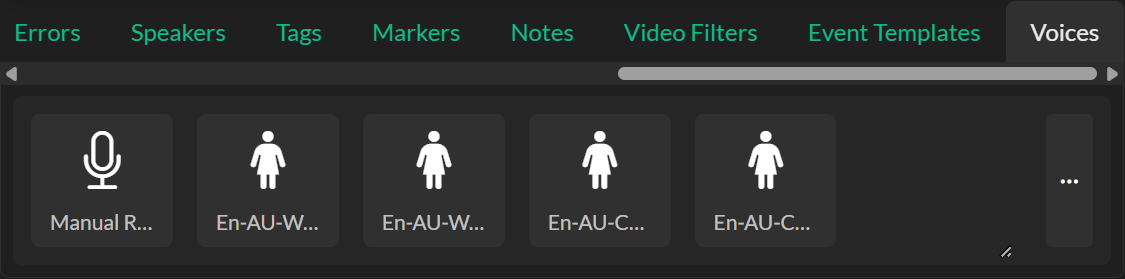
Open the Voices tab in Quick Tools (under the player). Pin voices in the Virtual Voice Manager, then select events and click a pinned voice — or Manual Record to record your own take. Pinning voices works the same way as for Audio Description.
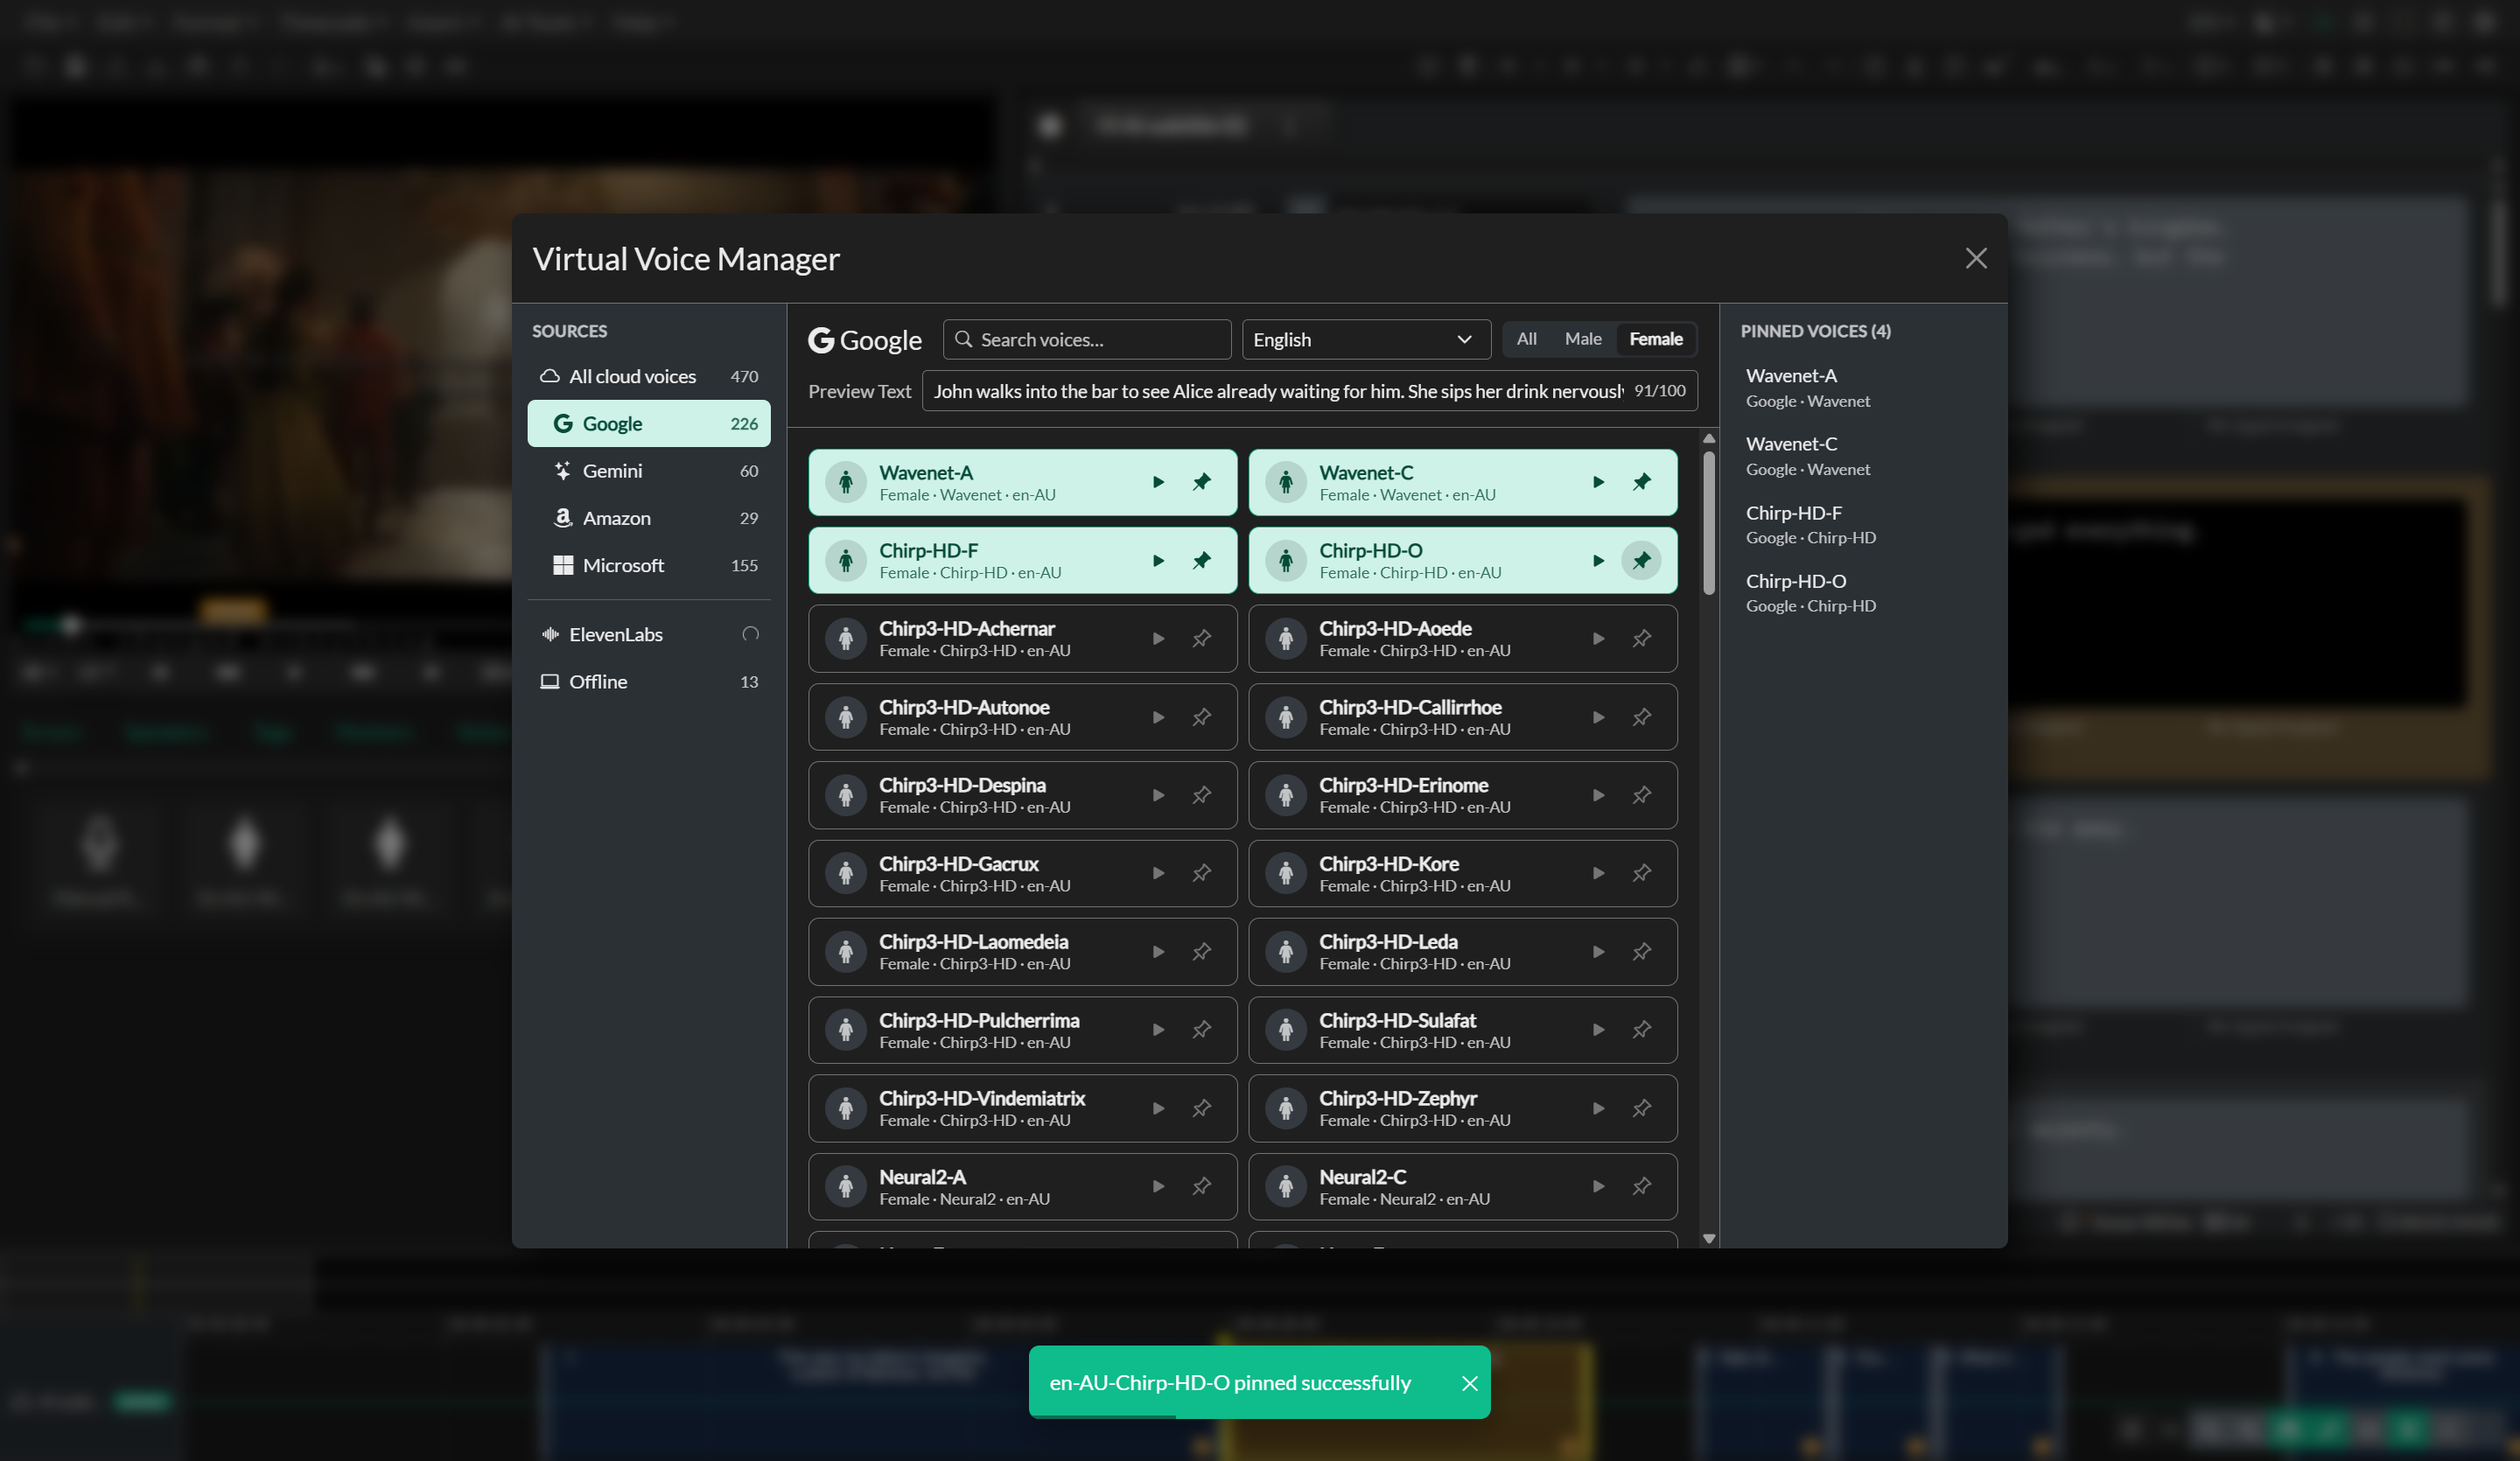
Voice browsing, pinning, and ElevenLabs setup are the same as for Audio Description. See The Voice Manager and ElevenLabs Integration. Fit speech to each cue with Speed — see Voice Properties.
Text-to-speech renders the dubbed (right-hand) text only. On each Event you can:
- Set Speed
- Render virtual audio (text-to-speech)
- Preview event audio
- Trim or extend the event duration based on the virtual audio duration
- Auto-set Speed to match event duration, then render
- Record your own voiceover
- Use AI Authoring Tools to rephrase the dubbed text
To render many cues at once, use AI Tools → Force Render Audio… or AI Tools → Force Render ALL Audio…. These commands apply to Audio Description and Audio Dubbing groups. The confirm dialog offers Fit to Event duration (adjusts each Event's Speed so the audio matches the Event's current timing) or Use current settings.
RENDER and DURATION badges on an Event flag cues that still need a render pass or whose audio does not fit the Event length.
Preview with audio stems
To hear music and effects without original dialogue while you work, load stems from the Media tab in Quick Tools (desktop) → Audio Stems, or from Audio Stems in the player volume menu. The Audio Stems window description is Load separated audio tracks to mix under the video while you preview.
- Background (music and effects) — the original mix without dialogue
- Foreground (dialogue) — isolated original dialogue, useful for checking timing
Use Remove stem to clear a loaded file. Preview mix uses the player volume controls. The voice-over slider is labeled Audio description volume for both Audio Description and Audio Dubbing groups.
Stems are for preview and playback only. Mixdown at export uses the loaded background stem only if you leave it selected (or pick it) as Background Stem in the Audio Dubbing Export window. If none is selected, mixdown uses project media, which still contains original dialogue.
Export Audio Dubbing
When the dubbed track is ready, go to File → Export… and choose the Audio Dubbing card. The dedicated Audio Dubbing Export window lists Audio Dubbing groups only, defaults Mix Preset and Loudness to None, defaults Background Stem to the loaded M&E stem, and defaults Export Video to the loaded project video. Extended AD is not shown.
See Audio Dubbing Export for settings, defaults, and how this window differs from AD Export.